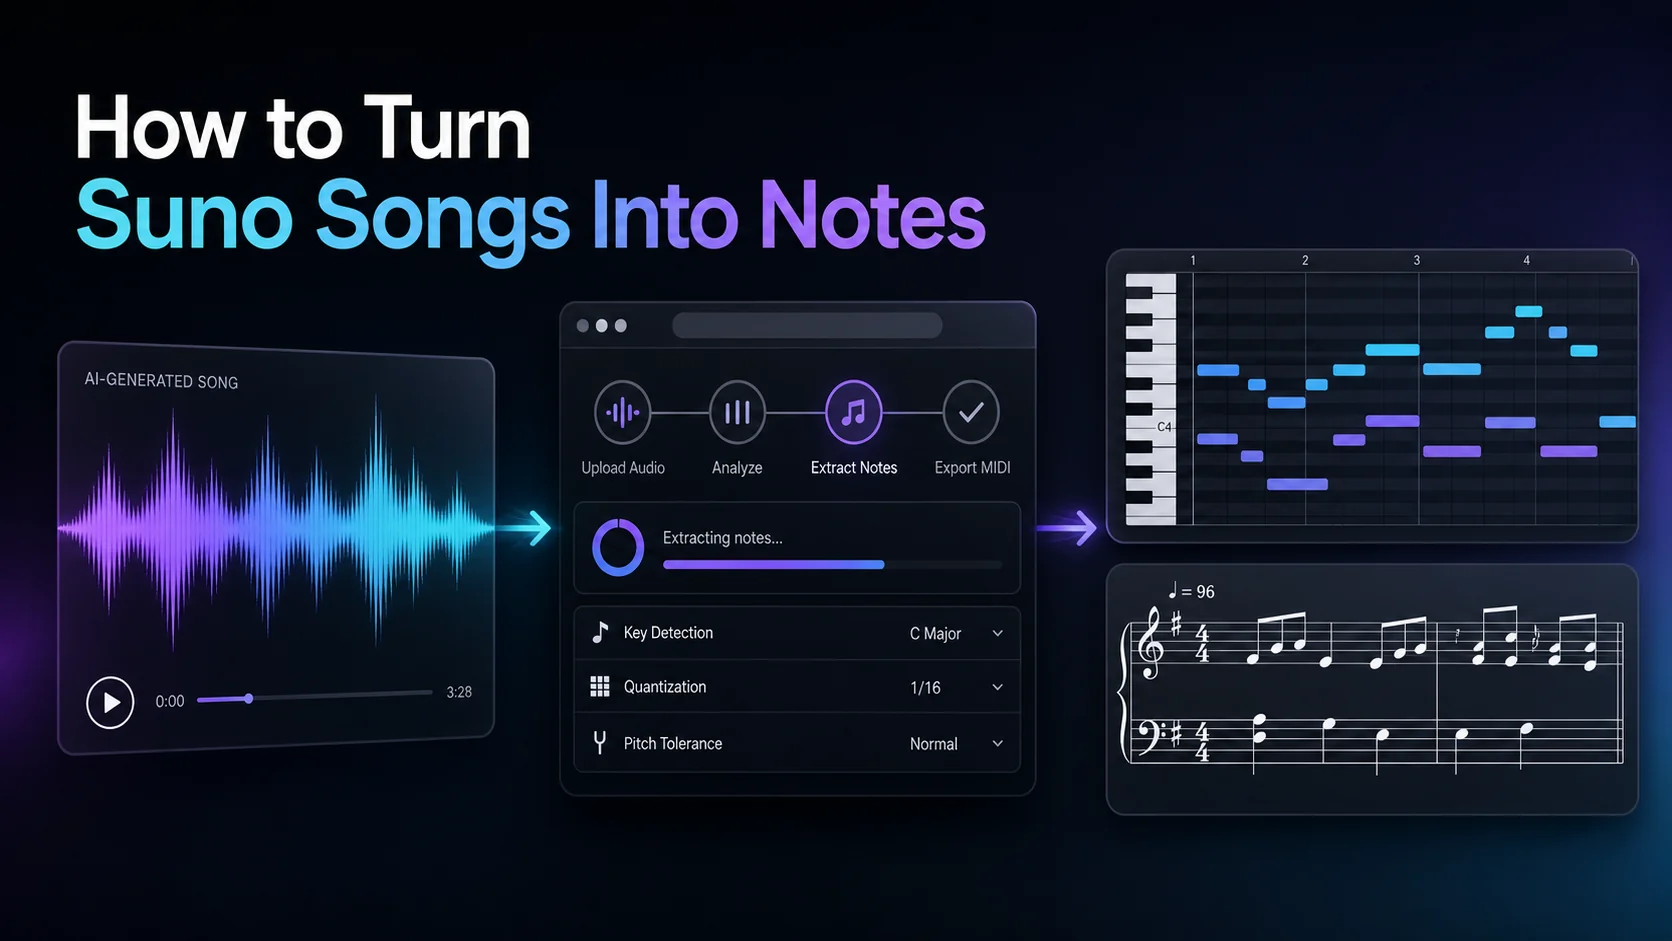
How to Convert MP3 to MIDI for DAW Production
Convert MP3 to MIDI for your DAW with a source-first workflow, Melogen steps, import notes, tempo checks, quantization, and cleanup guidance.
 Zhang Guo
Turn a static score into editable MIDI
Contents
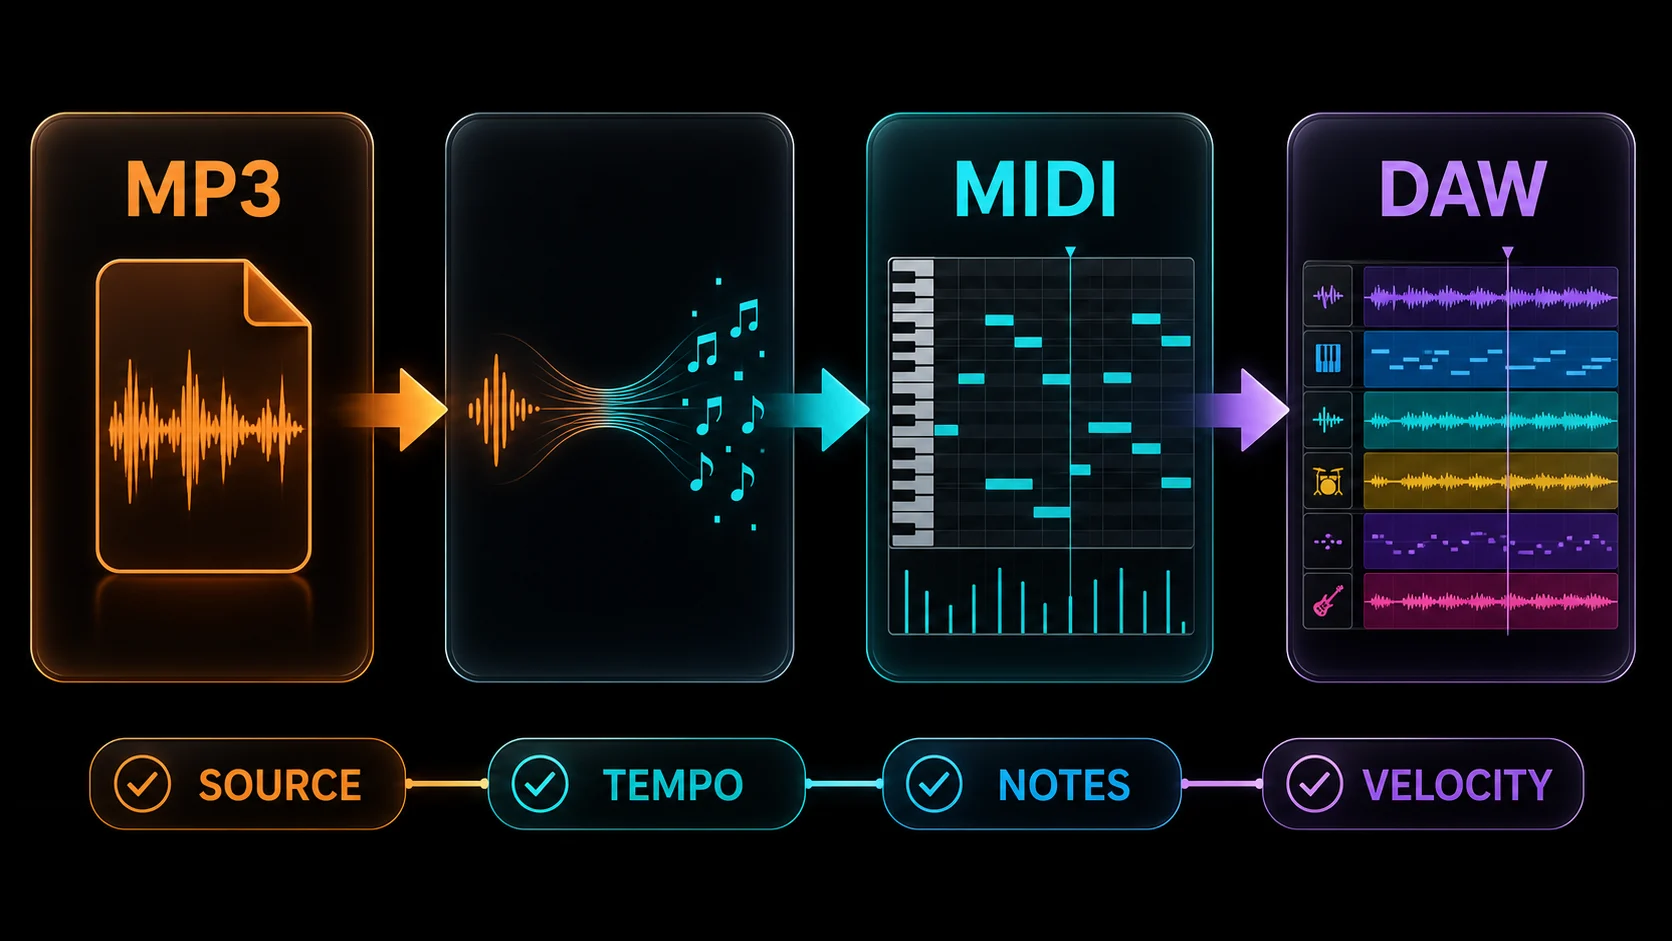
If you need to convert MP3 to MIDI for DAW production, the useful goal is editable notes instead of a fixed audio recording. The MIDI can drive a new instrument, reveal the rough melody, or give you a starting point for a remix. It cannot recreate every detail of the original mix, because MP3 stores sound while MIDI stores performance instructions such as notes, timing, and velocity.
The most reliable workflow is simple: choose a source the converter can understand, create a MIDI draft, import it into your DAW, and clean the musical data in the right order. A clear solo part may need only a short edit. A dense master may need stem isolation or a more selective goal, such as extracting only the lead melody.
Choose the right MP3 before you convert
Input quality matters more than the DAW you use afterward. A converter has an easier job when one pitched part is clear and consistent. It has a harder job when drums, vocals, bass, guitars, room noise, and mastered effects overlap in the same frequency range.
Use this source check before uploading:
| MP3 source | Realistic first result | Best next move |
|---|---|---|
| Solo piano, bass, voice, or lead instrument | A recognizable note sequence with manageable cleanup | Convert the full part, then compare phrase by phrase |
| Isolated stem from a multitrack session | A focused MIDI draft for that instrument | Preserve the stem start time so it is easy to realign |
| Simple loop with one dominant melody | A reusable melodic or rhythmic sketch | Trim the loop boundary before conversion |
| Full song with a clear lead | A rough lead-line reference, plus possible stray notes | Extract a short section first and keep only the useful voice |
| Dense, mastered full mix | Noisy or overpopulated MIDI is likely | Separate the source into stems or choose a simpler passage |
| Drums or unpitched percussion | Pitched MIDI transcription is usually the wrong target | Use transient or drum-to-MIDI tools in your DAW instead |
If you own or are allowed to edit the source, a cleaner stem is usually a better input than an aggressively compressed master. Trim long silence, avoid re-encoding the file repeatedly, and keep the original MP3 available for comparison.
Convert the MP3 into a MIDI draft with Melogen
Melogen's MP3 to MIDI page keeps the first pass in the browser. The current public workflow is upload, analysis, and MIDI download. The page also makes the most important expectation clear: isolated instruments are easier to transcribe than complex mixes.

Follow this sequence:
- Open the MP3 to MIDI converter and upload a source you are allowed to process.
- Start with a short, representative passage if you are unsure about the source.
- Download the generated
.midfile when the conversion finishes. - Keep the MP3 and MIDI together in the same project folder.
- Import both files into a new DAW session before changing notes.
The short test prevents a common waste of time: editing hundreds of bad notes from a source that should have been isolated first. If the first phrase is structurally wrong, improve the source and rerun it. If the melody and rhythm are recognizable, continue into the DAW and do the detailed cleanup there.
Import the MIDI into your DAW
A standard MIDI file contains performance data, not an instrument sound. After import, assign a simple piano or synth patch so pitch and rhythm errors are easy to hear. Keep the MP3 on a separate audio track and line it up with the MIDI before arranging.
| DAW | Import route | First check after import |
|---|---|---|
| Ableton Live | Drag the MIDI file from Live's browser, or use Create > Import MIDI File | Confirm the clip starts on the intended bar and choose an instrument for the MIDI track |
| Logic Pro | Drag the file into the Tracks area, or use File > Import > MIDI File | Check whether tempo information should affect the project before deep editing |
| FL Studio | Use File > Import > MIDI file, drag the file in, or import from the Piano roll | Review imported tracks and channels, then assign the sounds you actually want |
| REAPER | Insert or drag the MIDI file into the project as a media item | Confirm track placement, source tempo, and whether the item should follow project tempo |
These routes are based on the current official documentation from Ableton, Apple, Image-Line, and the REAPER user guide. Menu labels can move between releases, so the vendor guide for your installed version remains the final reference.
If your destination is Logic Pro specifically, the more detailed audio-to-MIDI Logic workflow explains when to use an external MIDI draft and when Logic's own pitch tools are the better route.
Align tempo before you edit notes
Tempo mistakes can make a good transcription look unusable. The MIDI may contain correct relative note timing but land between bars because the source recording was not made to a click, the project BPM is wrong, or the audio begins before the first downbeat.
Use this order:
- Place the original MP3 on an audio track.
- Find a clear downbeat and align it to a bar line.
- Set or map the project tempo before quantizing the MIDI.
- Move the MIDI as one region until its opening phrase matches the audio.
- Check the middle and end of the passage for drift.
If the start matches but the end drifts, the source may have a changing tempo. Use your DAW's tempo-mapping tools rather than forcing the entire performance to one BPM. Quantizing first can hide the real timing relationship and create more cleanup later.
Clean the MIDI in the right order
Do not begin with velocity curves or sound design. Structural errors affect every later decision, so fix the broad musical shape first.
1. Separate useful tracks and voices
Mute anything you do not need. If a dense conversion puts several musical ideas on one track, duplicate the track and delete notes until each copy has a clear role. A useful lead melody is more valuable than a noisy attempt to reproduce the entire mix.
2. Correct pitch and octave errors
Listen in short phrases with a plain instrument. Fix notes that are clearly outside the key or jump into the wrong octave. Harmonics can sometimes be detected as higher notes, so test octave shifts before redrawing a whole passage.
3. Repair note starts and lengths
Remove tiny false notes, close accidental overlaps, and extend notes that should sustain. Compare phrase endings against the MP3; they often reveal whether the converter followed the performance or the reverb tail.
4. Quantize lightly
Choose the smallest musical division the part genuinely uses, then apply partial-strength quantization when your DAW supports it. Hard quantization can erase swing, pushes, and laid-back phrasing. It can also turn an expressive performance into a rigid one without fixing wrong pitches.
5. Shape velocity and expression
Only after notes and timing are stable should you edit velocity. Use the source as a contour reference rather than trying to copy the MP3's loudness exactly. Compression and mastering change audio level in ways that do not translate directly into MIDI velocity.
Troubleshoot weak MP3-to-MIDI results
| Symptom | Likely cause | Practical fix |
|---|---|---|
| Hundreds of short extra notes | Drums, reverb, or overlapping instruments are being read as pitches | Isolate a stem, shorten the excerpt, or extract only the dominant melody |
| Correct melody in the wrong octave | Harmonics are stronger than the fundamental | Shift the phrase by an octave, then correct the remaining outliers |
| Notes sound right but miss the grid | Project tempo or first downbeat is not aligned | Align the audio first, then map tempo before quantizing |
| Chords become dense clusters | The source is too polyphonic for a clean note-for-note result | Simplify the goal to bass, melody, or another single voice |
| The MIDI begins cleanly but drifts later | The recording has tempo changes | Build a tempo map or edit the passage in sections |
| The result is accurate but lifeless | Quantization or uniform velocity removed phrasing | Reduce quantize strength and redraw dynamics after note cleanup |
When repeated conversion produces the same clutter, stop and change the input. Editing is worthwhile when the phrase structure is already present. It is rarely worthwhile when the converter cannot distinguish the part you want from the rest of the mix.
Decide whether MIDI is the right destination
MIDI is a strong destination for DAW production because notes, timing, instrument choice, and many controller values remain editable. It is not designed to preserve a finished recording's timbre, lyrics, mix, or mastering.
If your real goal is readable notation, consider whether MusicXML is the better intermediate format. The MIDI vs MusicXML guide explains the tradeoff: MIDI favors playback and production, while MusicXML carries more score structure for notation editors.
Create an editable MIDI draft from your MP3
Use Melogen for the first conversion pass, then import the MIDI and original audio into your DAW for tempo, note, timing, and velocity cleanup.
Frequently asked questions
Can a DAW convert MP3 to MIDI by itself?
Some DAWs can derive MIDI from certain audio material, especially a clear monophonic melody or drums. The exact feature and limitations differ by DAW. A browser converter is useful when you want a standard MIDI file before opening a project or when you plan to test the same result in several DAWs.
Will converting MP3 to MIDI preserve every instrument?
Usually not. A full MP3 mix combines many instruments into one audio signal. Conversion is more dependable when you isolate one part or define a narrower goal, such as recovering the melody or bass line.
Should I quantize the MIDI immediately?
No. Align the source audio, set or map the tempo, and fix obvious pitch errors first. Quantizing too early can lock notes to the wrong grid and erase useful timing information.
Why does the MIDI sound different from the MP3?
The MP3 contains recorded sound. MIDI contains instructions that play through whichever software instrument you assign. Choose a suitable instrument after import, but expect the timbre and production to differ from the original recording.
Is it legal to convert any MP3 I have?
Use audio you created, licensed, or have permission to process. Owning access to a stream or recording does not automatically grant permission to distribute a derivative MIDI file. Keep copyrighted source and output private unless your rights allow sharing.
The practical takeaway
The best MP3-to-MIDI workflow is not a one-click attempt to rebuild a finished song. It is a controlled way to reach editable note data faster. Start with the clearest source, test a short passage, import the MIDI beside the original audio, align tempo, and clean structure before expression.
When the first draft captures the musical idea, the DAW becomes the place where the conversion turns into an arrangement. When it does not, improve or isolate the source before spending time on note-by-note repair.
About the author
Zhang Guo
Composer - AI Product Manager
AI product manager and digital marketing consultant with a background in music. Creativity is the bridge between rhythm and logic, where musical intuition and mathematical precision can coexist in every meaningful product decision.
Follow on X