How to Convert Music CD to Digital Files Step by Step
Learn how to convert music CD to digital files on Mac or Windows, choose a useful format, verify every track, and keep a reliable lossless archive at home.
 Zhang Guo
Turn a static score into editable MIDI
Contents
If you are learning how to convert music CD to digital files, connect a CD or DVD drive, use the import or rip command in your music software, save a lossless master when the disc matters, and listen to every track before you put the CD away. A CD is already digital, so this is a direct data-reading workflow rather than the analog recording process used for vinyl.
The dependable path is:
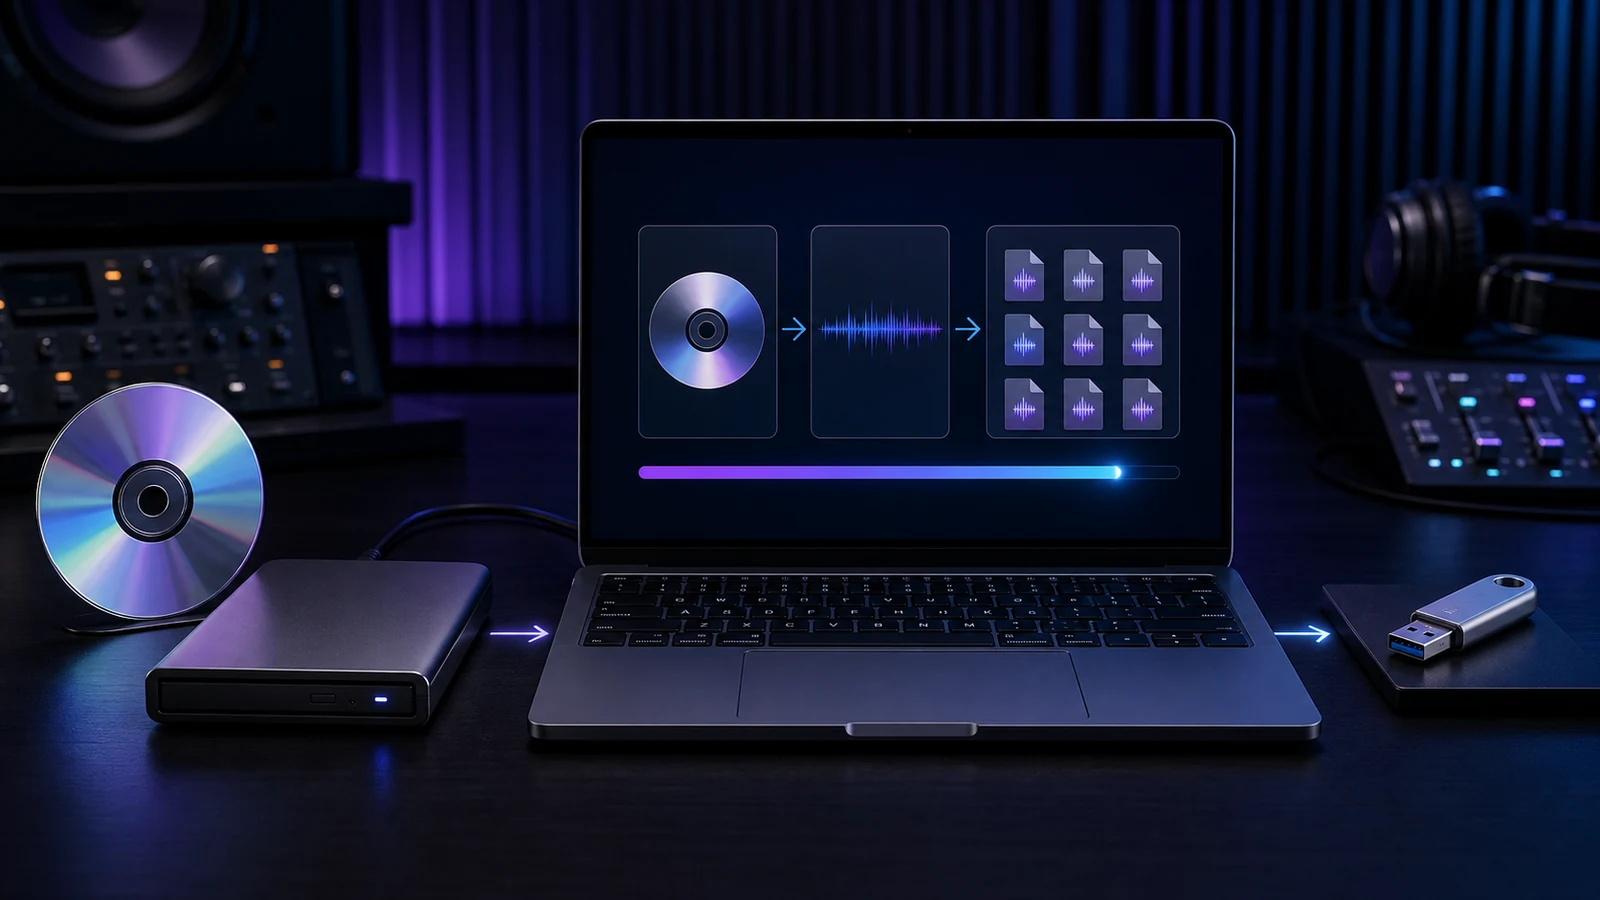
Audio CD → optical drive → ripping software → verified lossless files → smaller listening copies → backup
You can complete the basic job with the Music app on a Mac or Windows Media Player on a Windows PC. Specialist ripping software can add more verification and metadata options, but it is not required for a clean first archive.
Choose the digital files you actually need
Before inserting the disc, decide whether the files are an archive, an everyday listening copy, or both. This determines the import format and prevents a second rip later.
| Goal | Good starting format | Why it fits |
|---|---|---|
| Broad editing compatibility | WAV | Uncompressed, widely supported, and simple to inspect |
| Lossless library with tags | ALAC or FLAC | Preserves the audio while using less space than WAV |
| Apple-focused listening | AAC or ALAC | Fits Apple music-library workflows well |
| Small universal copy | MP3 | Plays almost everywhere and is easy to transfer |
| Long-term personal archive | WAV, ALAC, or FLAC | Avoids throwing away audio information during the first import |
An audio CD normally stores uncompressed PCM audio at 44.1 kHz and 16-bit resolution. Saving that disc as 24-bit/96 kHz does not create new musical detail. Keep the native data or a lossless equivalent, then choose the delivery format separately.
If bitrate and codec names are unfamiliar, read the audio bitrate guide before choosing a compressed copy. The important distinction here is simple: WAV, ALAC, and FLAC can preserve the CD audio; MP3 and AAC deliberately discard some information to reduce file size.
Prepare the CD and optical drive
Many current computers do not include an optical drive. A basic external USB CD/DVD drive is enough for most clean discs. Connect it directly to a stable USB port, wait for the operating system to recognize it, and close any app that starts playing the disc automatically.
Inspect the playing surface under soft light. If you see dust or fingerprints, wipe from the center toward the outer edge with a clean, lint-free cloth. Do not scrub in circles along the data track. A damaged disc may still play while producing read errors during a fast rip, so a clean surface is worth the minute it takes.
Prepare a destination folder with enough free space and a predictable name, such as:
Music Archive/Artist/Year - Album/
Use the disc and its recordings only where you have the right to make a copy. Copyright rules differ by location and purpose, and owning the physical disc does not grant permission to distribute its tracks.
Import a music CD on Mac
Open the Music app, insert the audio CD, and select the disc under Devices if it does not appear automatically. Before importing, open Music → Settings → Files → Import Settings and choose the encoder that matches your plan.
Apple's official Music CD import guide notes that AAC is the default encoding format and that the app can import all songs or only selected tracks. For a master, choose Apple Lossless when it is available in your version of Music. Use AAC or MP3 only when a smaller listening copy is the actual goal.
Then:
- Confirm the artist, album title, track names, and track order.
- Clear the checkbox beside any track you do not want.
- Select Import CD and review the chosen settings.
- Let the import finish before ejecting the disc.
- Open the destination folder or Music library and confirm every track exists.
If the disc produces clicks, stalls, or takes unusually long to read, enable Use error correction when reading Audio CDs in Import Settings and import the affected tracks again. Error correction can take longer, which is preferable to keeping a damaged master.
Rip a music CD on Windows
Windows Media Player provides a direct path for ripping an audio CD. Insert the disc, open the player, select the CD, and review Rip settings before pressing Rip CD.
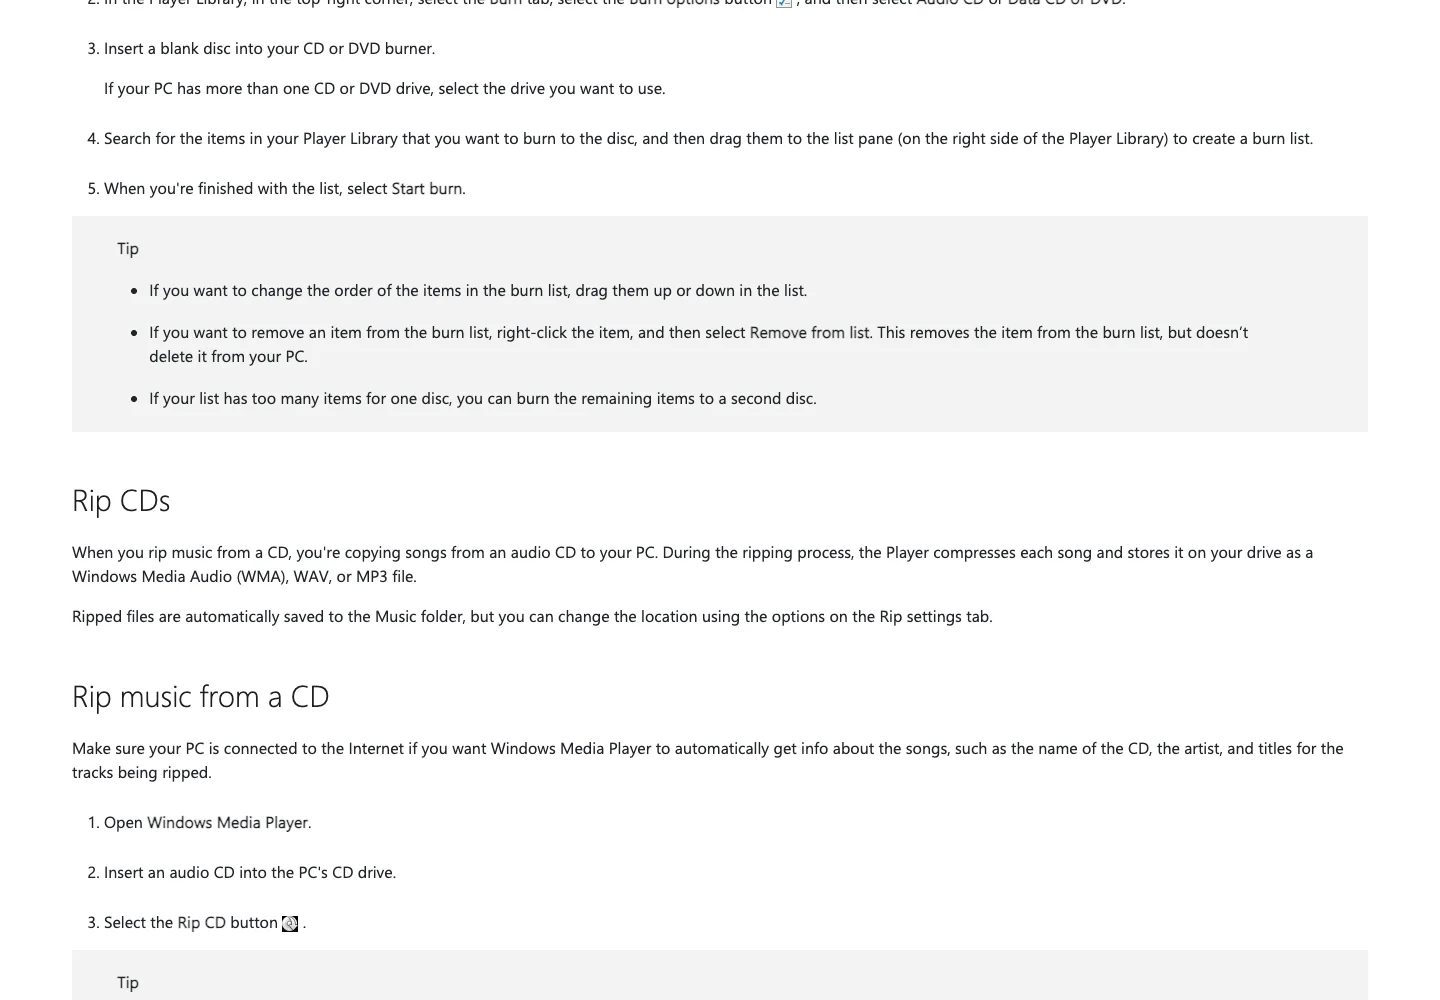
Microsoft's official Burn and rip CDs guide says the player can save ripped tracks as WMA, WAV, or MP3 and lets you choose the format, audio quality, and output location. It also recommends an internet connection when you want the player to retrieve album and track information automatically.
Use this sequence:
- Open Windows Media Player and insert the audio CD.
- Select the album and clear any tracks you do not need.
- In Rip settings, choose WAV for a straightforward lossless master or MP3 for a smaller listening copy.
- Set the destination folder and review the audio quality.
- Select Rip CD and wait for every chosen track to complete.
- Correct missing titles or album information before copying the files elsewhere.
If your current Windows setup does not include the classic ripping interface, use a reputable CD-ripping application rather than playing the disc through speakers and recording it with a microphone. The latter turns a clean digital source into a noisy analog capture.
Verify every track before storing the disc
A completed progress bar proves that files were written; it does not prove that the album is clean. Verification is the step most likely to save you from discovering a bad track after the disc has been boxed or donated.
Check all of the following:
- the number of files matches the number of tracks you selected
- track numbers sort in the intended album order
- the first and last 15 seconds of every track play normally
- quiet introductions do not contain unexpected clicks or skips
- long tracks are not truncated
- artist, album, title, year, and disc number are consistent
- the files are stored in the format you intended
If one track clicks at the same point twice, clean the disc and re-rip only that track with error correction enabled. If the fault moves or disappears, the original read was unreliable. Keep the cleanest verified version and remove the failed duplicate.
For a valuable or irreplaceable disc, compare the ripped result with a second read or use a ripper that supports checksum-based verification. That is an optional confidence step, not a reason to postpone a normal home archive indefinitely.
Keep one master and make listening copies
Treat the lossless file as the source, not as the file you casually overwrite. A practical album folder can contain a Master subfolder and a separate Listening Copies subfolder.
| Version | Example format | Editing rule |
|---|---|---|
| Verified lossless rip | WAV, ALAC, FLAC | Keep unchanged after metadata and track order are checked |
| Phone or car copy | MP3 or AAC | Recreate from the lossless rip when settings change |
| Short clip or excerpt | MP3 or WAV | Export from a duplicate, never trim the archive in place |
| Independent backup | Same as master | Store on another drive or trusted backup destination |
Do not convert MP3 to MP3 again just to change a tag or folder. Repeated lossy encoding can accumulate audible damage. If you need a universal version for a device, create it from the lossless master using the workflow in how to convert music files to MP3.
After the files are correct, copy the master folder to a second physical drive or a backup service. A CD is not a complete backup once it becomes scratched, lost, or unreadable by the only optical drive you own.
Trim an owned track after the rip
CD ripping and audio editing are separate jobs. Melogen does not read an audio CD or control an optical drive. It can help after the rip when you need a short excerpt, a clean start or end, or a separate listening clip from audio you are allowed to use.
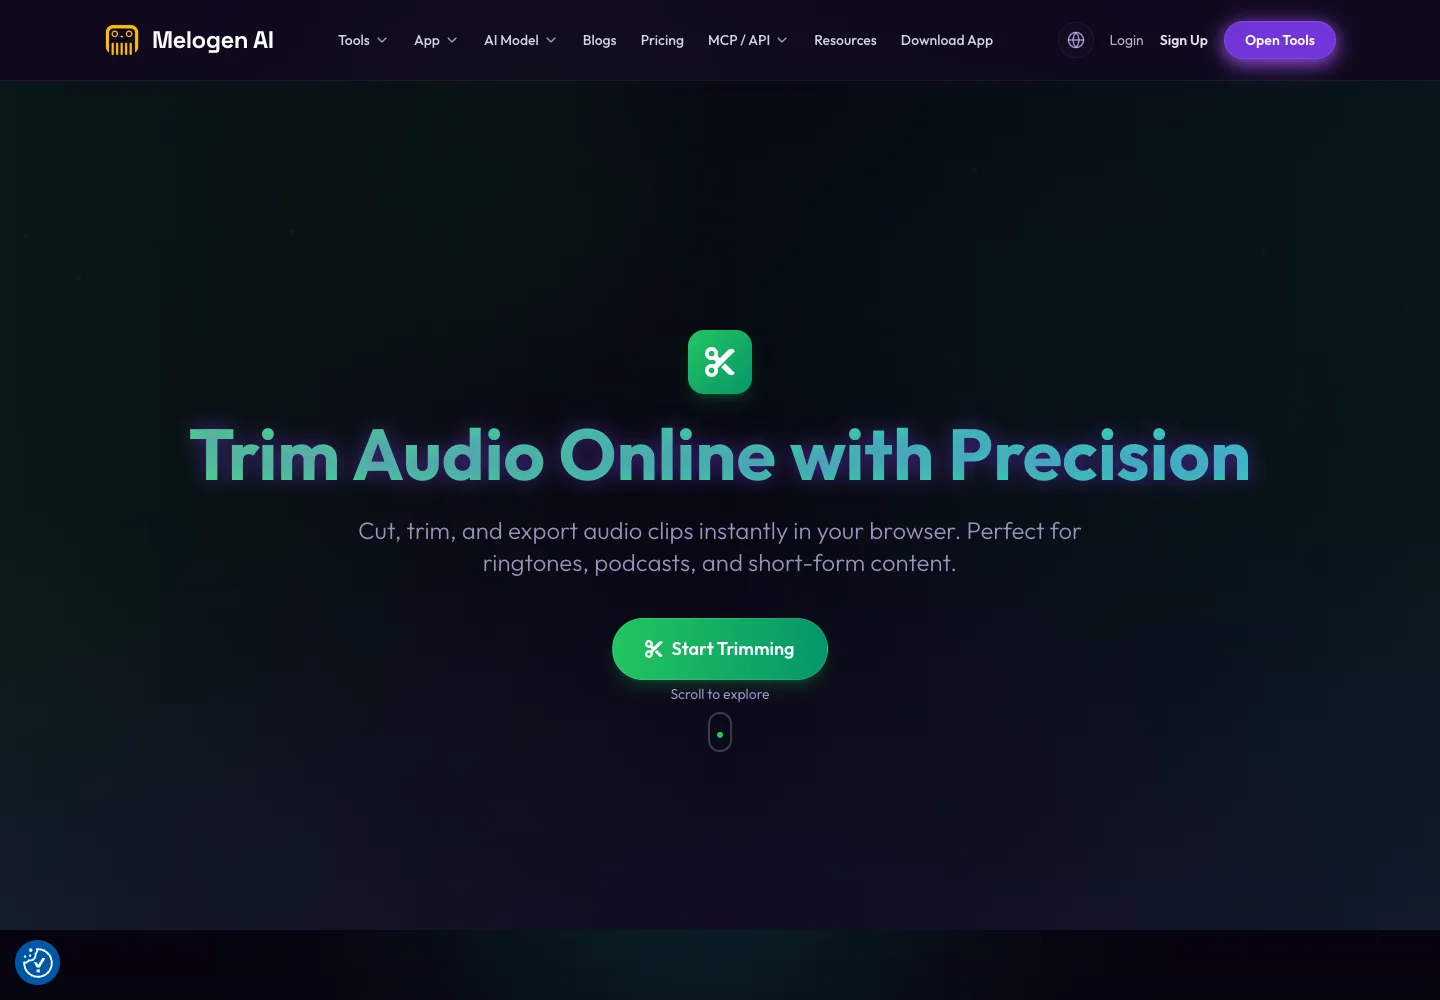
Melogen Music Trimmer accepts common local audio formats and lets you select a region, preview it, add short fades, and export a new file. Keep the verified master untouched and upload a duplicate. The free workflow is intended for files up to 50 MB or 10 minutes, so it is better suited to a track or excerpt than an entire lossless album.
Trim a clean copy without changing the archive
Open a duplicate of an owned track, select the useful section, preview the boundary, and export a separate file.
Common CD conversion problems
| Problem | Likely cause | Better next step |
|---|---|---|
| Disc does not appear | Drive, cable, power, or unsupported disc | Reconnect the drive and test another known-good audio CD |
| Rip pauses or becomes very slow | Dust, scratches, or repeated read attempts | Clean the disc and enable error correction |
| Track names are missing | Metadata lookup failed | Connect to the internet or enter the album details manually |
| Tracks play in the wrong order | Track numbers are absent or inconsistent | Add two-digit track numbers and correct disc numbers |
| Files are much larger than expected | Lossless format was selected | Keep the master and create a separate MP3 or AAC copy |
| A track has clicks | The optical read was unreliable | Re-rip that track and compare the same passage |
| Album has several discs | Disc number metadata is missing | Use consistent disc and track fields before merging the library |
If the same disc fails in more than one drive, the disc itself is probably the limiting factor. If many clean discs fail in one drive, replace the cable or test another optical drive before changing software.
Frequently asked questions
Is ripping a CD the same as recording vinyl?
No. A CD rip reads digital audio data from the disc. Vinyl digitization plays an analog groove through a cartridge, phono preamp, and audio converter in real time. The guide to converting records to digital music covers that separate signal chain.
Should I rip a CD to WAV or MP3?
Choose WAV, ALAC, or FLAC when you want a reusable lossless master. Choose MP3 when small files and broad device support matter more than preserving every bit from the disc. Keeping both is often the most practical answer.
Does a higher sample rate improve a CD rip?
No. Upsampling a 44.1 kHz CD to a higher number does not recreate information that was never stored on the disc. Preserve the native data and spend your attention on a clean read, correct metadata, and a verified backup.
Can I rip a scratched CD?
Sometimes. Clean it carefully, use error correction, and try a second drive. Deep damage may remain unreadable. Listen to the affected passages instead of assuming that a completed file is clean.
Can Melogen convert the CD directly?
No. Use the computer's optical drive and ripping software first. Melogen fits afterward for tasks such as trimming an owned local audio file. It does not bypass disc copy protection or download streaming music.
The practical takeaway
The reliable way to convert music CD to digital is to rip the disc once, verify the result, and separate the master from the listening copies. Use Music on Mac or Windows Media Player on Windows, choose lossless when the album matters, correct the metadata while the disc is in front of you, and listen for read errors before archiving it.
Once the master is backed up, create MP3 or AAC copies for the phone, car, or casual sharing between your own devices. That simple two-layer library is easier to maintain than a folder full of mystery encodes and repeated conversions.
About the author
Zhang Guo
Composer - AI Product Manager
AI product manager and digital marketing consultant with a background in music. Creativity is the bridge between rhythm and logic, where musical intuition and mathematical precision can coexist in every meaningful product decision.
Follow on X