How to Convert Audio to MIDI in an Audacity Workflow
Prepare audio in Audacity, transcribe it to MIDI, and check the notes. Understand why Export MIDI and a selected waveform are different things.
 Zhang Guo
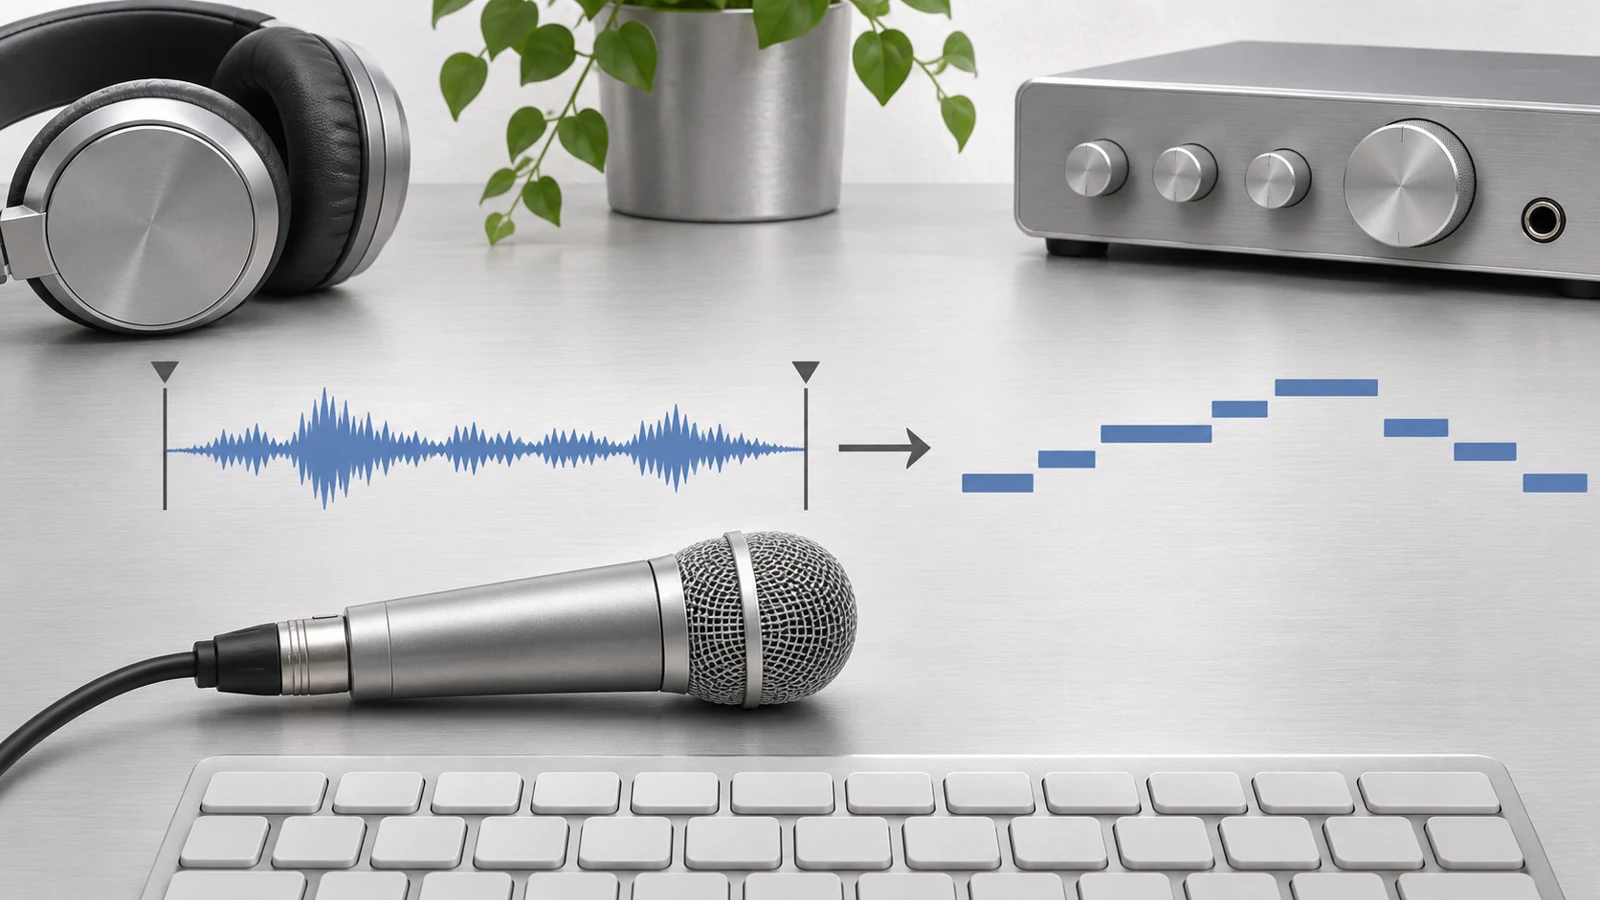
Turn a static score into editable MIDI
Contents
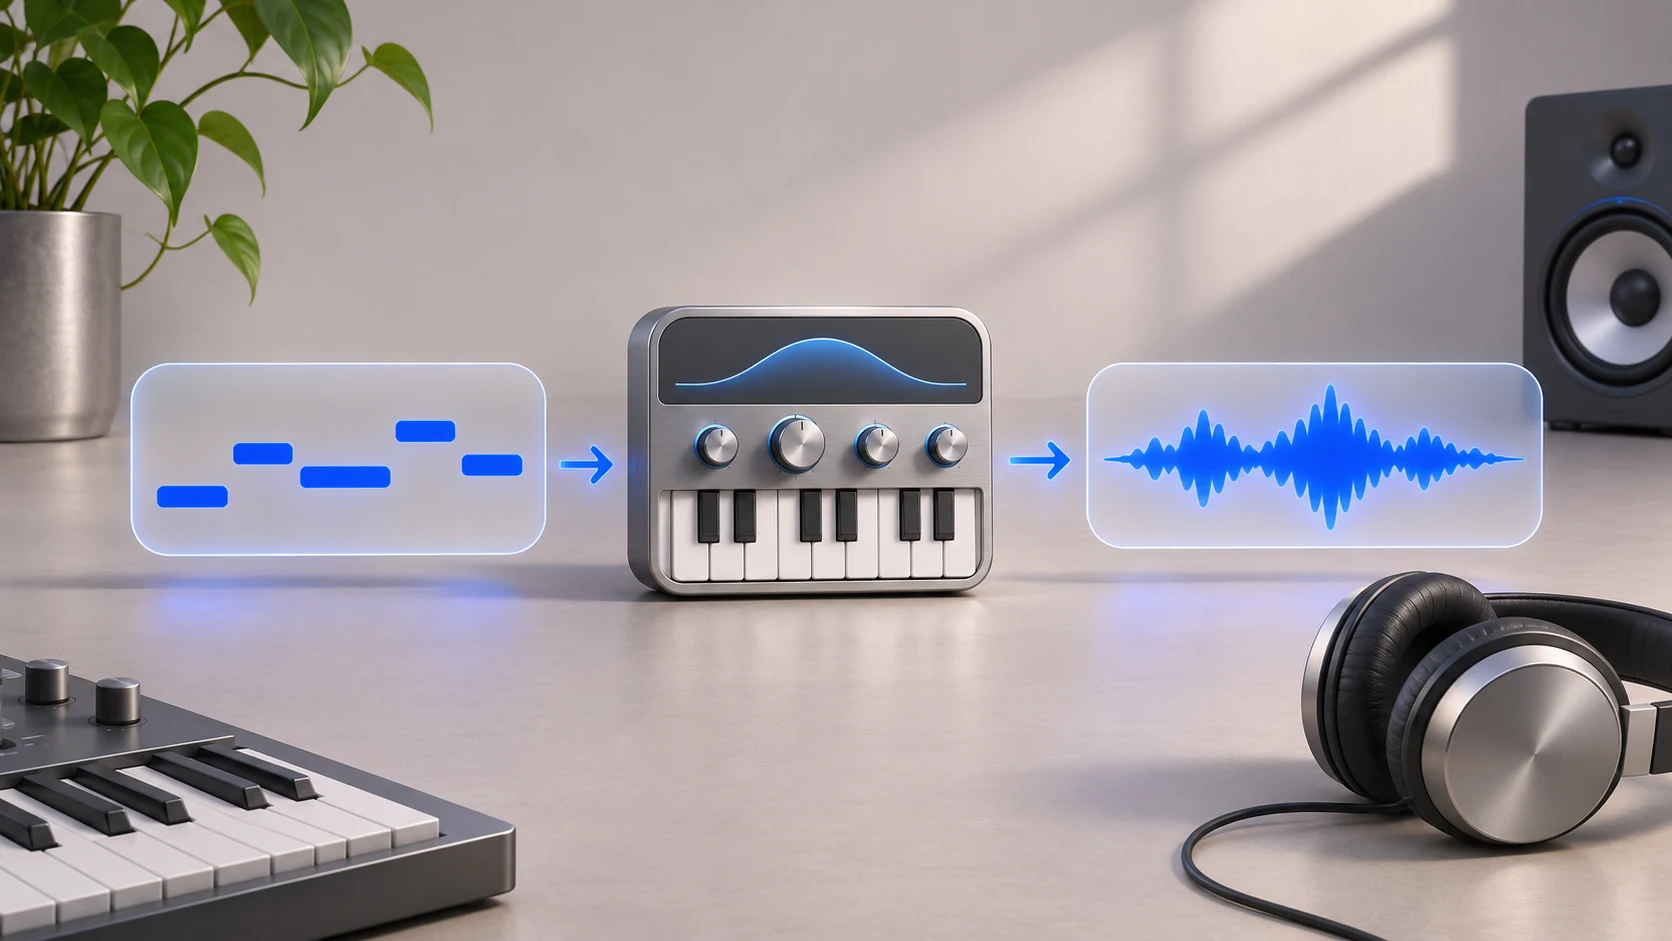
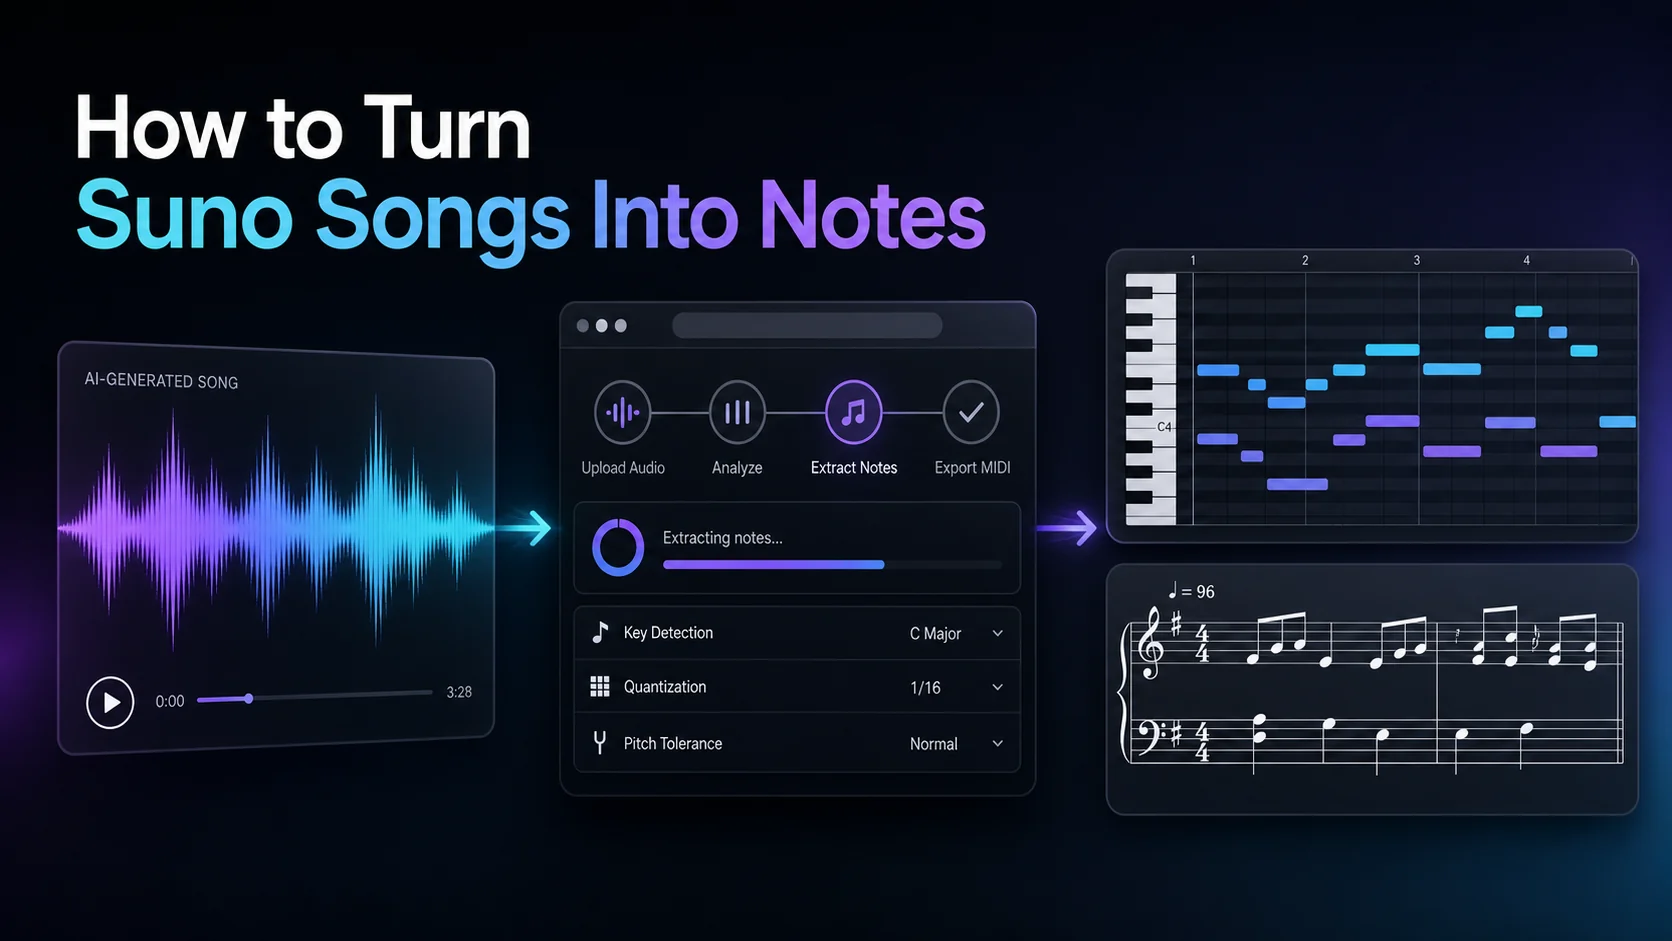
To convert audio to MIDI in an Audacity workflow, use Audacity to prepare a clean recording, export that audio, then transcribe it with an audio-to-MIDI tool. Open the resulting MIDI in a note editor or DAW to check pitches and timing. Audacity's audio export is a sound-rendering step, not a command that recognizes notes from a selected waveform.
The confusion usually starts with an export menu. A .mid extension, a Note Track and an audio track represent different data. Choosing a file extension cannot supply note events that have never been detected.
Understand what the MIDI menu can mean
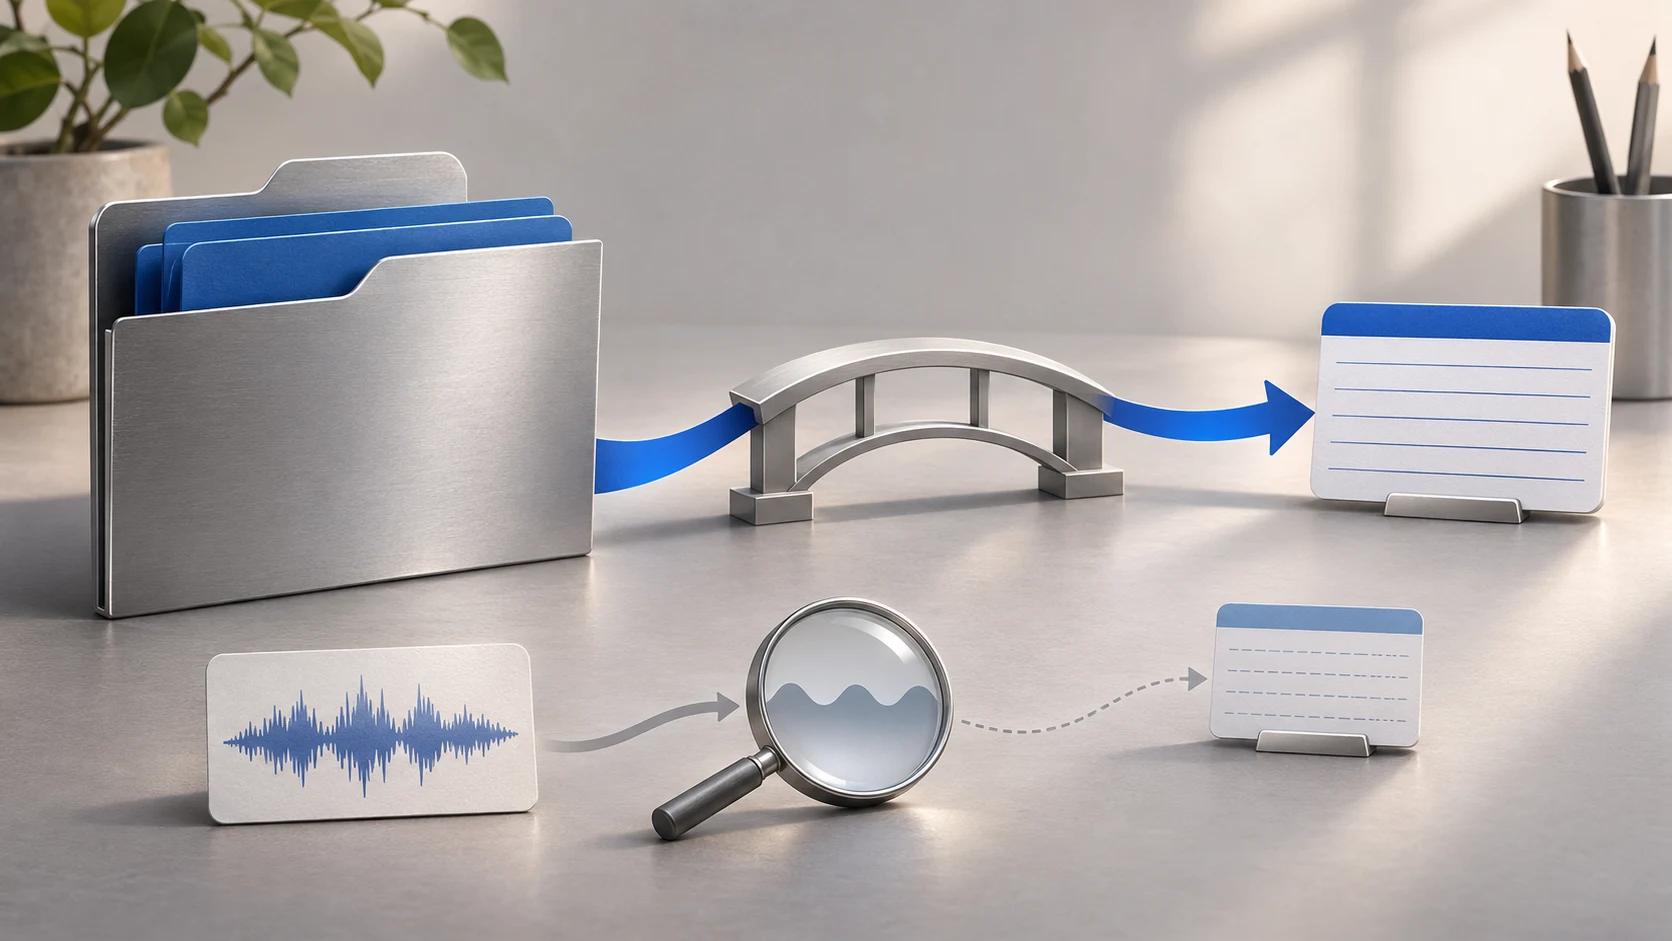
Audacity's documentation spans different interfaces. The current Audacity 4 File manual marks MIDI export as not enabled and still labels that section for the alpha. Older Note Tracks documentation describes importing existing MIDI and exporting a selected Note Track. Those pages describe version-specific handling of existing notes; neither turns a selected recording into pitches through ordinary export.
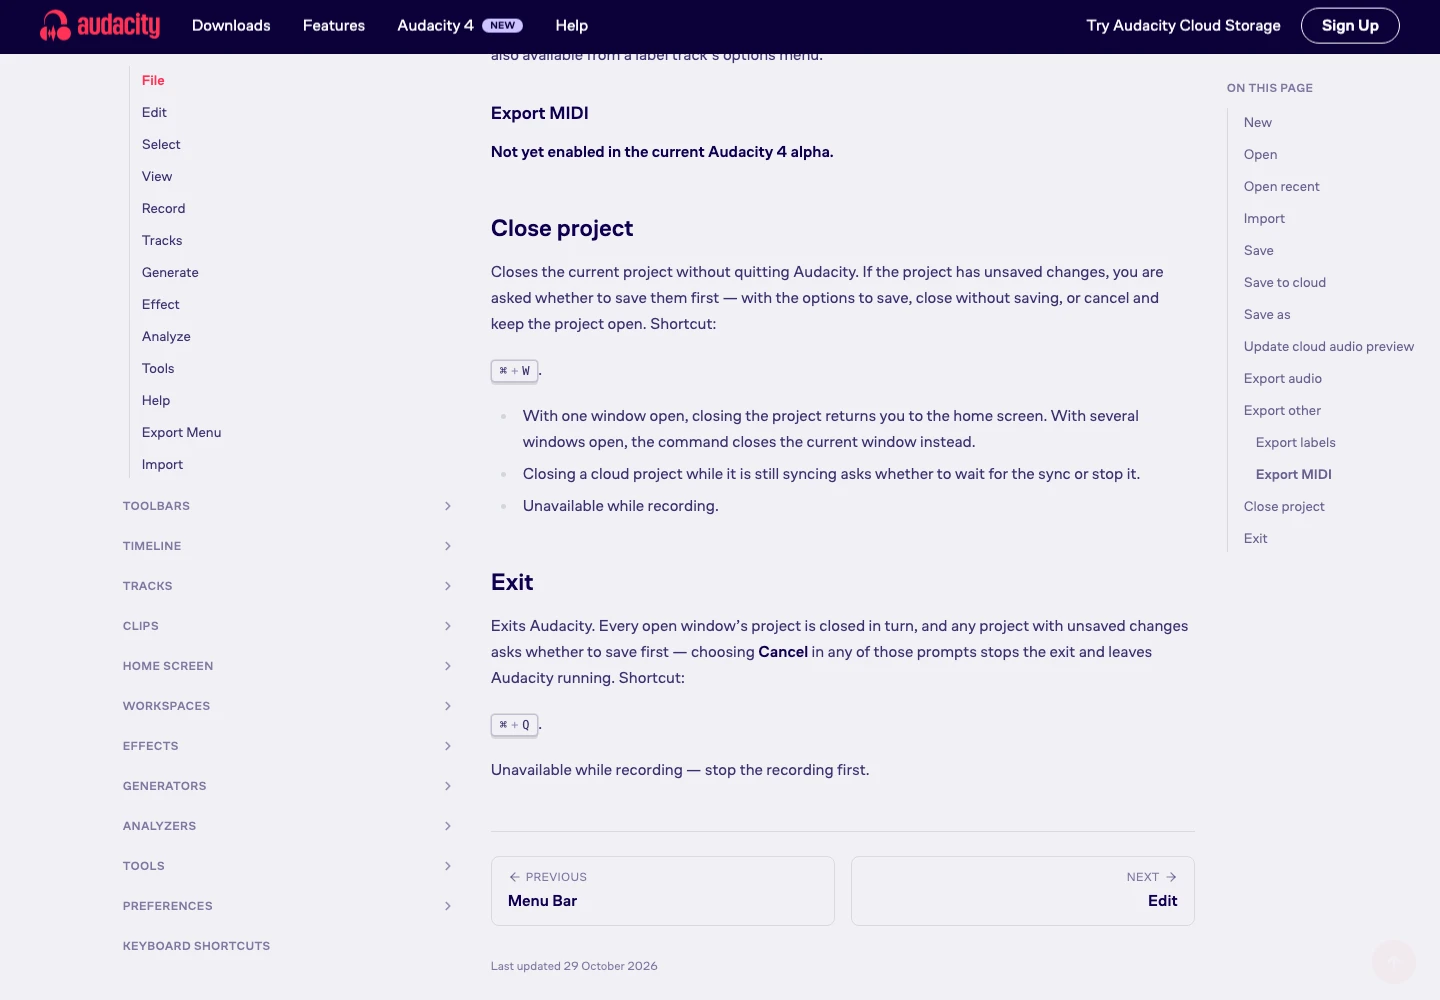
Use the installed version's matching manual for exact menu wording. For this workflow, keep the roles simple:
| What you have | What it represents | Next step |
|---|---|---|
| A visible waveform | Sampled audio | Prepare and export audio for transcription |
| A MIDI file imported as a legacy Note Track | Existing note events | Inspect what that build supports; importing did not transcribe the recording |
| An exported WAV | A playable recording | Send it to note recognition |
A downloaded .mid from transcription | Detected note events | Check them in a MIDI editor with an instrument |
Renaming phrase.wav to phrase.mid changes the name, not the content. Likewise, a label marking “C” on a timeline is an annotation, not a MIDI note-on event.
Prepare the smallest useful recording
Keep the original file and work on a copy. Select one phrase with a clearly audible lead line, then remove irrelevant silence or speech from the material you plan to transcribe. Retain a known timing reference if you need the MIDI to line up with a larger project.
Do not apply every available effect. A heavily gated release can split a held note; strong processing can change the attack you need the detector to recognize. Use cleanup to solve an audible problem rather than to make the waveform look uniform.
For an uncomplicated control, download the original reference WAV. It contains four short notes over two seconds with no room recording or copyrighted song material. A companion MIDI reference gives the intended events and is not presented as a converter's output.
The phrase is 120 BPM. Its MIDI pitches are 60, 62, 64 and 67, at 0, 0.5, 1 and 1.5 seconds. Each lasts 0.375 seconds. If this clean control behaves very differently from your recording, source complexity is a useful place to investigate.
Export audio for the transcription stage
Use Audacity's audio-export workflow to create a WAV of the phrase you intend to analyze. In the newer interface, the export dialog distinguishes the whole project from selected audio and the loop region. Check that scope before saving.
Before leaving Audacity:
- Confirm which tracks will be heard in the export.
- Confirm the chosen time range.
- Export WAV rather than repeatedly recompressing a lossy source.
- Open the exported file and listen to its beginning and end.
- Keep its name associated with the source phrase and tempo.
For a multi-track session, “the waveform I can see” and “the audio being exported” are not always the same selection. A short audition of the saved WAV catches that mistake before it becomes a transcription problem.
Create the MIDI from the exported recording
Melogen Audio to MIDI provides the separate recognition stage. Upload the prepared WAV, start conversion and download the MIDI result. Sign in if prompted and check the current preview or credit terms before running a job.
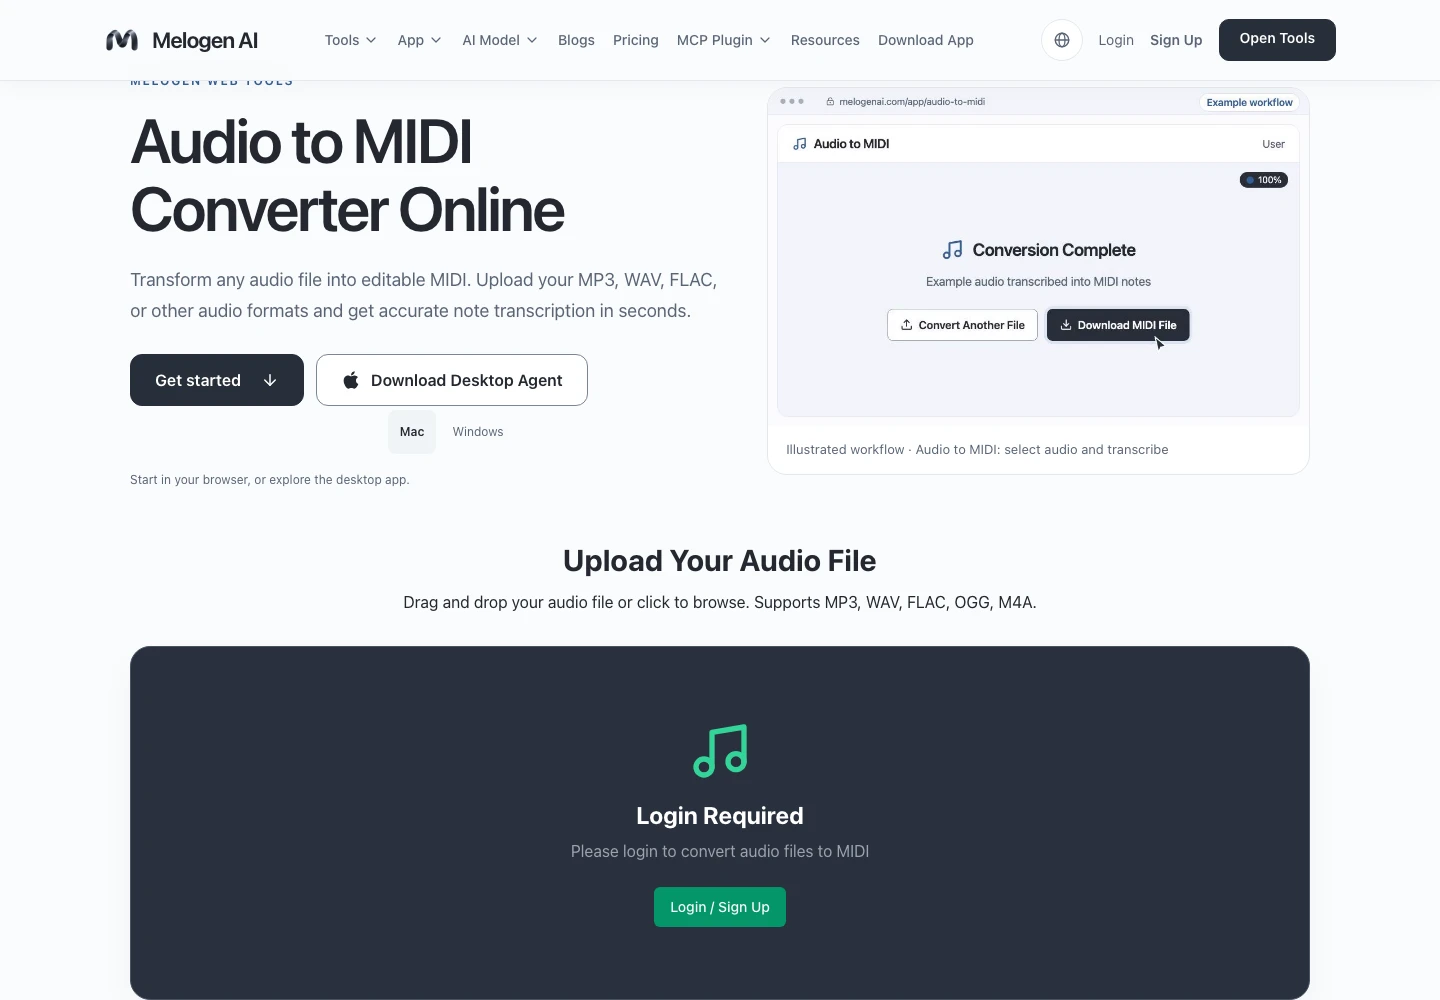
The distinction is useful: Audacity helps you decide which sound reaches analysis; the transcription tool creates note data. Neither stage removes the need to listen to the result.
Turn your prepared recording into a MIDI draft
Export the phrase you need from Audacity, then use Melogen Audio to MIDI for editable notes you can review in a DAW or notation editor.
If you need help choosing a cleaner source or deciding whether a whole mix is appropriate, use the source-first transcription guide. Keep this Audacity workflow focused on preparation, export scope and the difference between audio and note tracks.
Verify the file in a MIDI editor
Import the .mid into a DAW or notation editor and assign an instrument. A MIDI file contains performance instructions, so hearing it requires a sound source. A silent preview alone does not establish that the file contains no notes.
Compare the detected phrase with the WAV:
| Check | For the control phrase | What a mismatch suggests |
|---|---|---|
| Main event count | Four | Missing repeated notes or false fragments |
| Pitch order | 60, 62, 64, 67 | Detection error or different register |
| Attack spacing | Half a second at 120 BPM | Tempo interpretation or altered clip placement |
| Note ends | Short gaps before the next attack | Merged events or release noise |
| Export scope | The chosen two-second phrase | A wrong selection or extra source tracks |
Use MIDI versus MusicXML when the final goal is notation. A valid MIDI file is a useful bridge to a score editor, but readable measures, rests and enharmonic spelling still need a notation pass.
About the author
Zhang Guo
Composer - AI Product Manager
AI product manager and digital marketing consultant with a background in music. Creativity is the bridge between rhythm and logic, where musical intuition and mathematical precision can coexist in every meaningful product decision.
Follow on X