How to Bounce MIDI to Audio in Ableton and Keep Notes
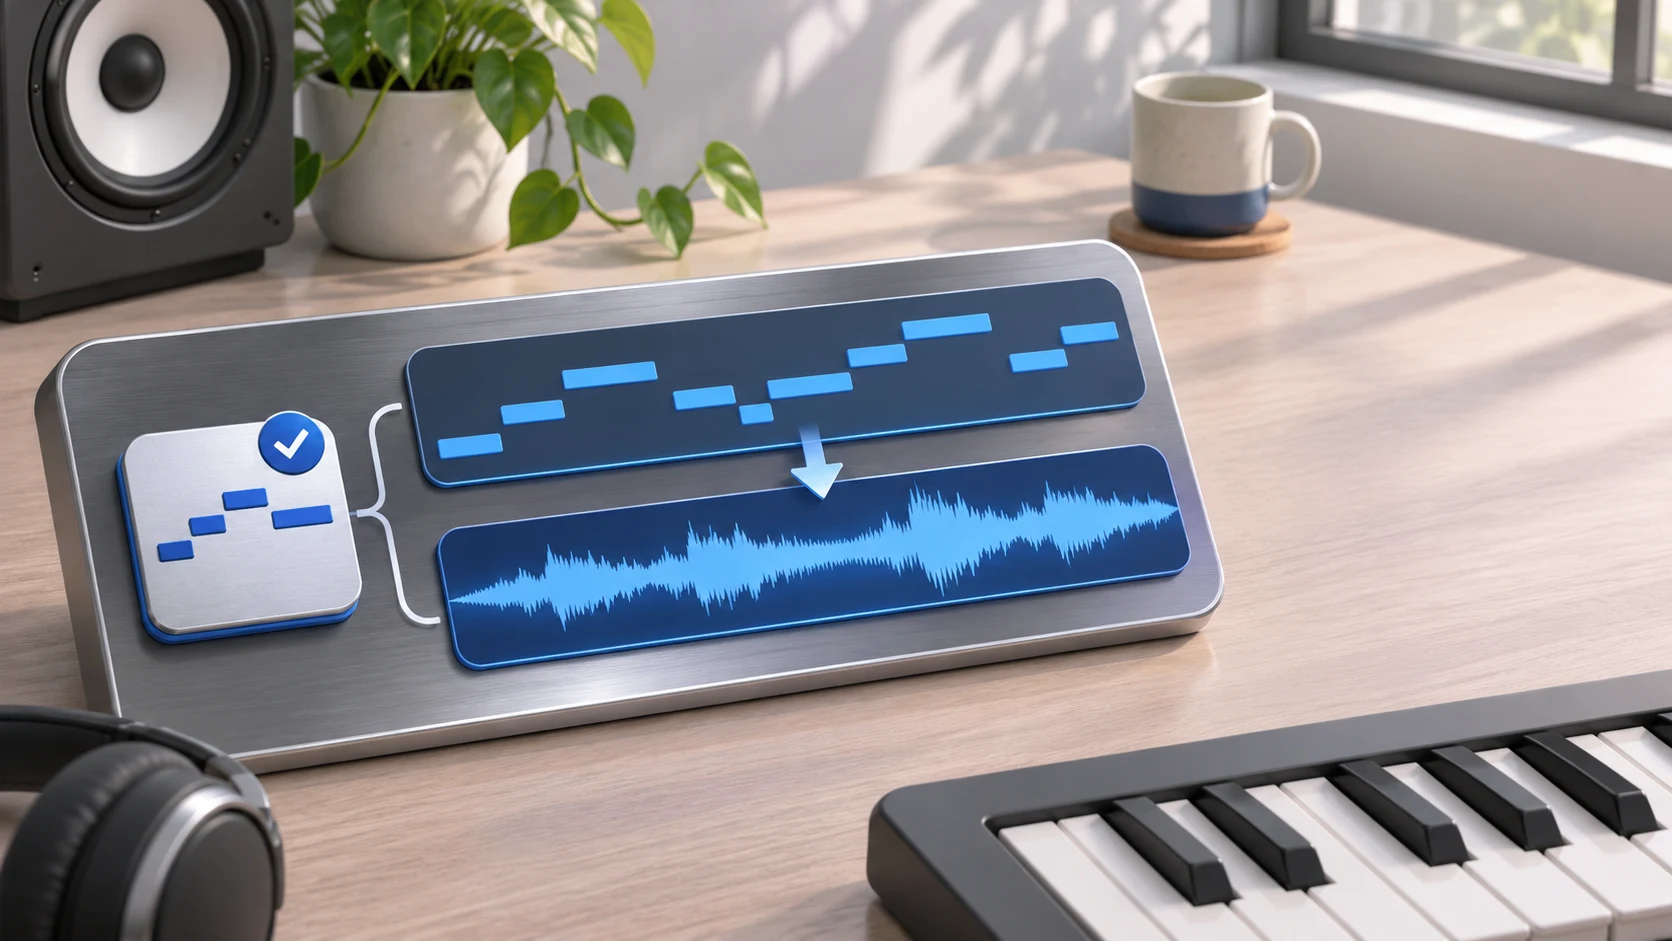
Bounce MIDI to audio in Ableton Live with the current Bounce commands or older Freeze and Flatten workflow, then check the source, tails, and files.
 Zhang Guo
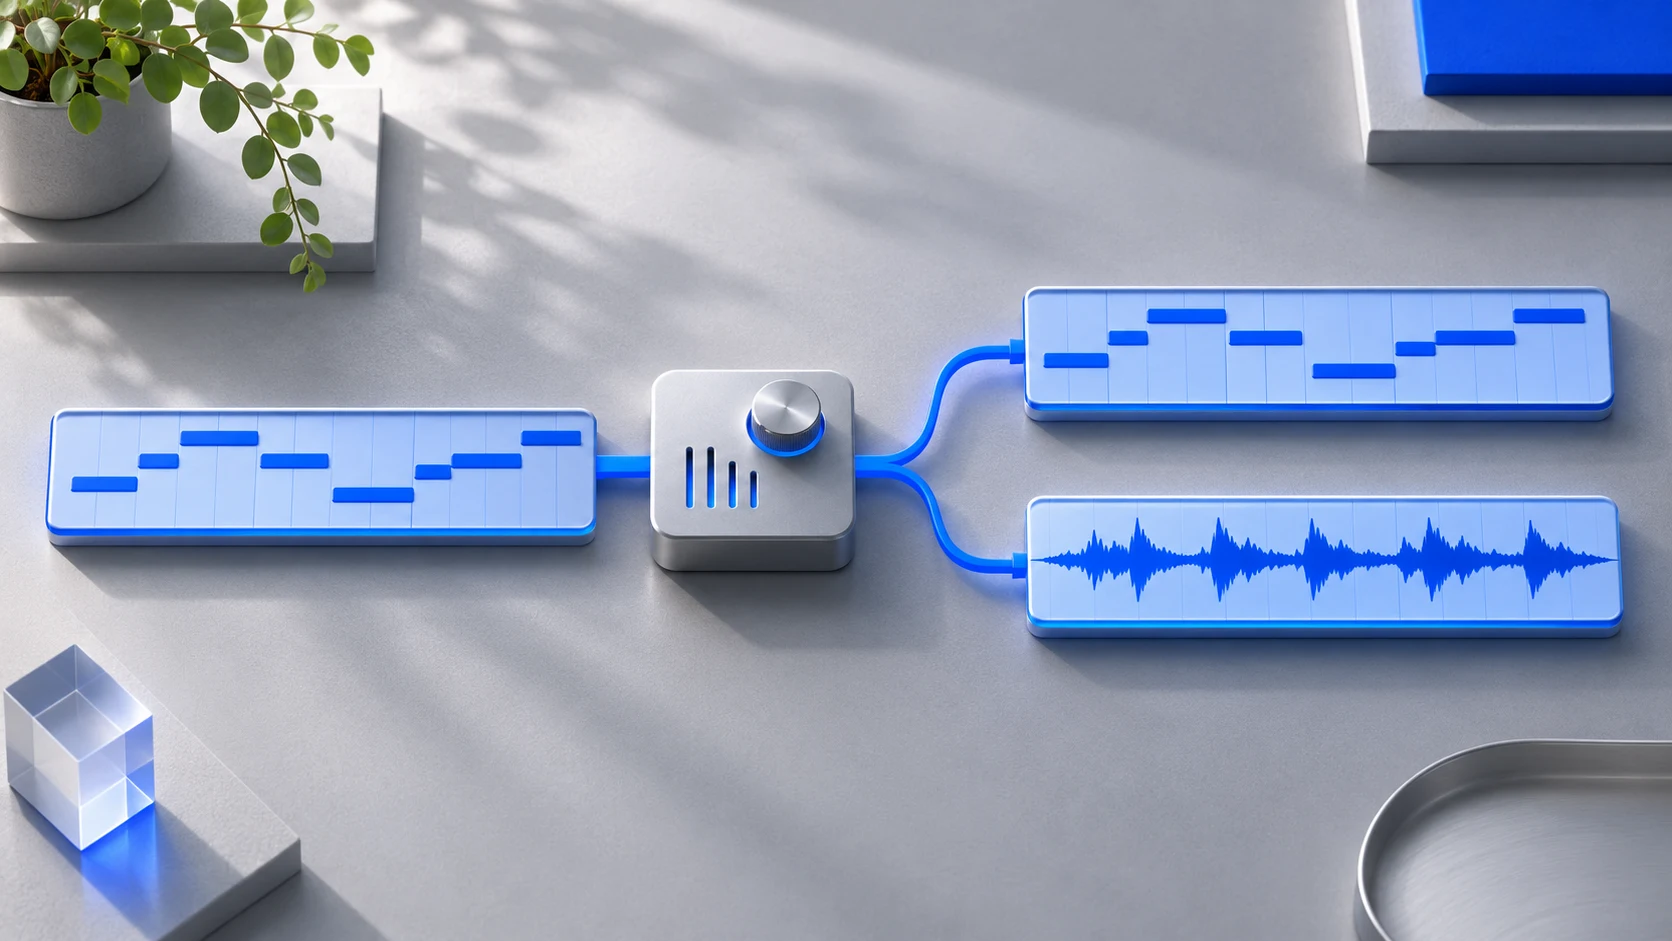
Turn a static score into editable MIDI
Contents
In Ableton Live 12.2 or later, select a MIDI clip or an Arrangement time range, then choose Bounce to New Track to create audio while preserving the source. Current Live also has Bounce Track in Place, which replaces the source track. Older Live versions use the Freeze and Flatten workflow.
Start with the new-track route when you want an editable MIDI copy beside an audio result. The key checks are the selected range, the instrument that produces the sound, and which processing is committed to the audio.
Choose the bounce that matches your next edit
| Your goal | Useful route | Source decision |
|---|---|---|
| Chop or reverse a short rendered phrase | Bounce to New Track | Keep the source clips for note changes |
| Commit a complete instrument track | Bounce Track in Place in current Live | Save a version or duplicate first |
| Commit audio in an older Live version | Freeze, then Flatten a duplicate | Keep the unflattened original |
| Deliver a finished stereo file | Export Audio/Video | Check the whole mix and export range |
Ableton introduced the new-track command with Live 12.2. Its current Bounce to Audio manual explains the commands now available. Use the menu in your installed version rather than assuming an old shortcut guide describes the same behavior.
Prepare a short, audible MIDI phrase
Make sure the MIDI track contains an instrument and produces sound. A MIDI clip with notes but no working sound source cannot supply the audio you want. Save the Set before committing the sound, and give the track a useful name.
For a repeatable check, use the original two-part 96 BPM MIDI exercise. There are six melody notes and two bass notes across a two-bar 4/4 grid. Set the project tempo to 96 BPM for a five-second, two-bar comparison. You can test the melody alone first, then the bass.
Use a simple sound for that pass. It is much easier to diagnose a missing part or late start before adding a long attack, delay, or randomized instrument behavior.
Bounce to a new track in current Live
- In Arrangement View, select the time span containing the intended MIDI clip. In Session View, select the intended clip.
- Open the selection's context menu and choose Bounce to New Track.
- Inspect the new audio track and the source's deactivated material.
- Play the audio result alone, then compare it with the original.
- Save the Set in its own Project folder so the generated audio remains with it.
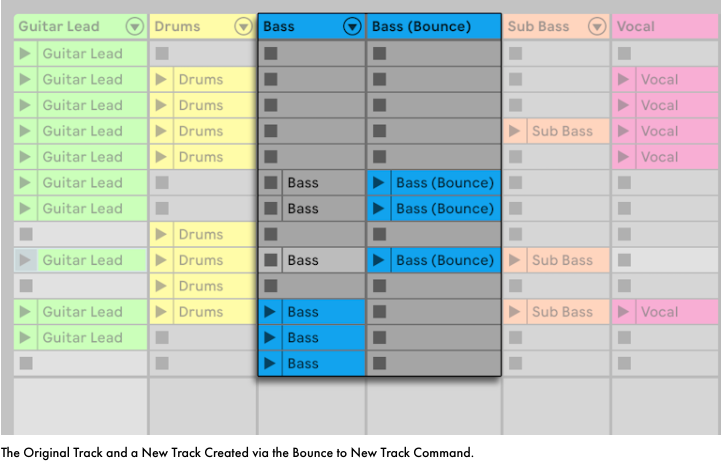
If the command is absent, check the selection before changing settings. Selecting a track header is different from selecting a clip or a time range. Also confirm the Live version: the newer command will not appear in Live 11.
When working in Session View, inspect the result in that view. A newly created track exists in both Session and Arrangement, but the clips produced by a new-track bounce belong to the view you bounced. An empty counterpart in the other view does not mean the audio file failed.
Use Freeze and Flatten in older versions
For a version without the new-track command, duplicate the MIDI track first. Freeze the duplicate, then use the available Flatten command to turn its frozen material into audio. Leave the original MIDI track deactivated while checking the result.
This sequence gives you a deliberately preserved source. Flattening is a commitment: once the duplicate becomes audio, its notes and instrument devices are no longer the editable source on that track. Retaining the original matters if the next revision changes a chord or note length.
If an External Instrument or External Audio Effect is involved, account for the real hardware signal path and real-time processing. A software instrument and an external device are different rendering situations.
Check effects, mixer settings, and tails separately
The Ableton audio-commit guide distinguishes sound printed into a file from settings carried onto the new track. Track-device processing is committed by a bounce, while mixer properties such as volume, pan, and sends remain part of the track setup. A bounced file alone should not be assumed to contain the entire Main mix.
Use these checks before moving the file to another project:
- Listen with the source deactivated so the sound is not doubled.
- Check the first transient against the source's starting beat.
- Check the last sustained note and its decay.
- Review the region edges; a clipped display can hide audio beyond the visible boundary.
- Locate the generated audio inside the Project's processed samples, then keep the Project together.
With the exercise file, the bass changes at bar two and the last melody note is short. Those landmarks make range or part errors easy to hear. Add a longer tail only when your instrument or effects need it.
Create a separate listening reference from a MIDI file
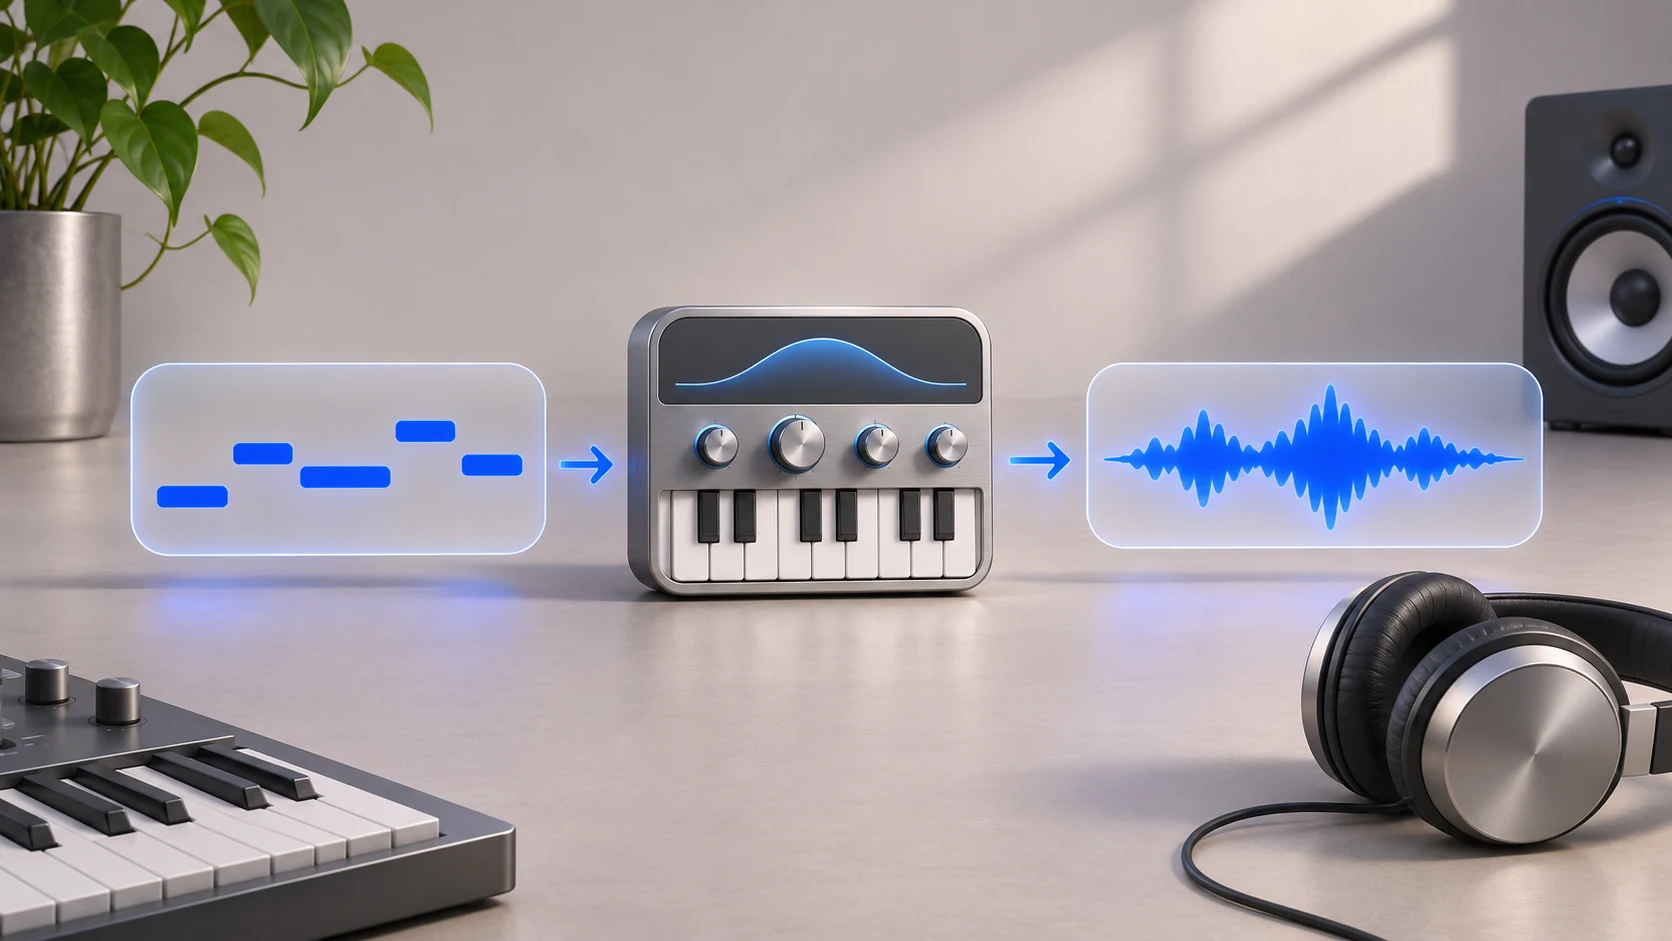
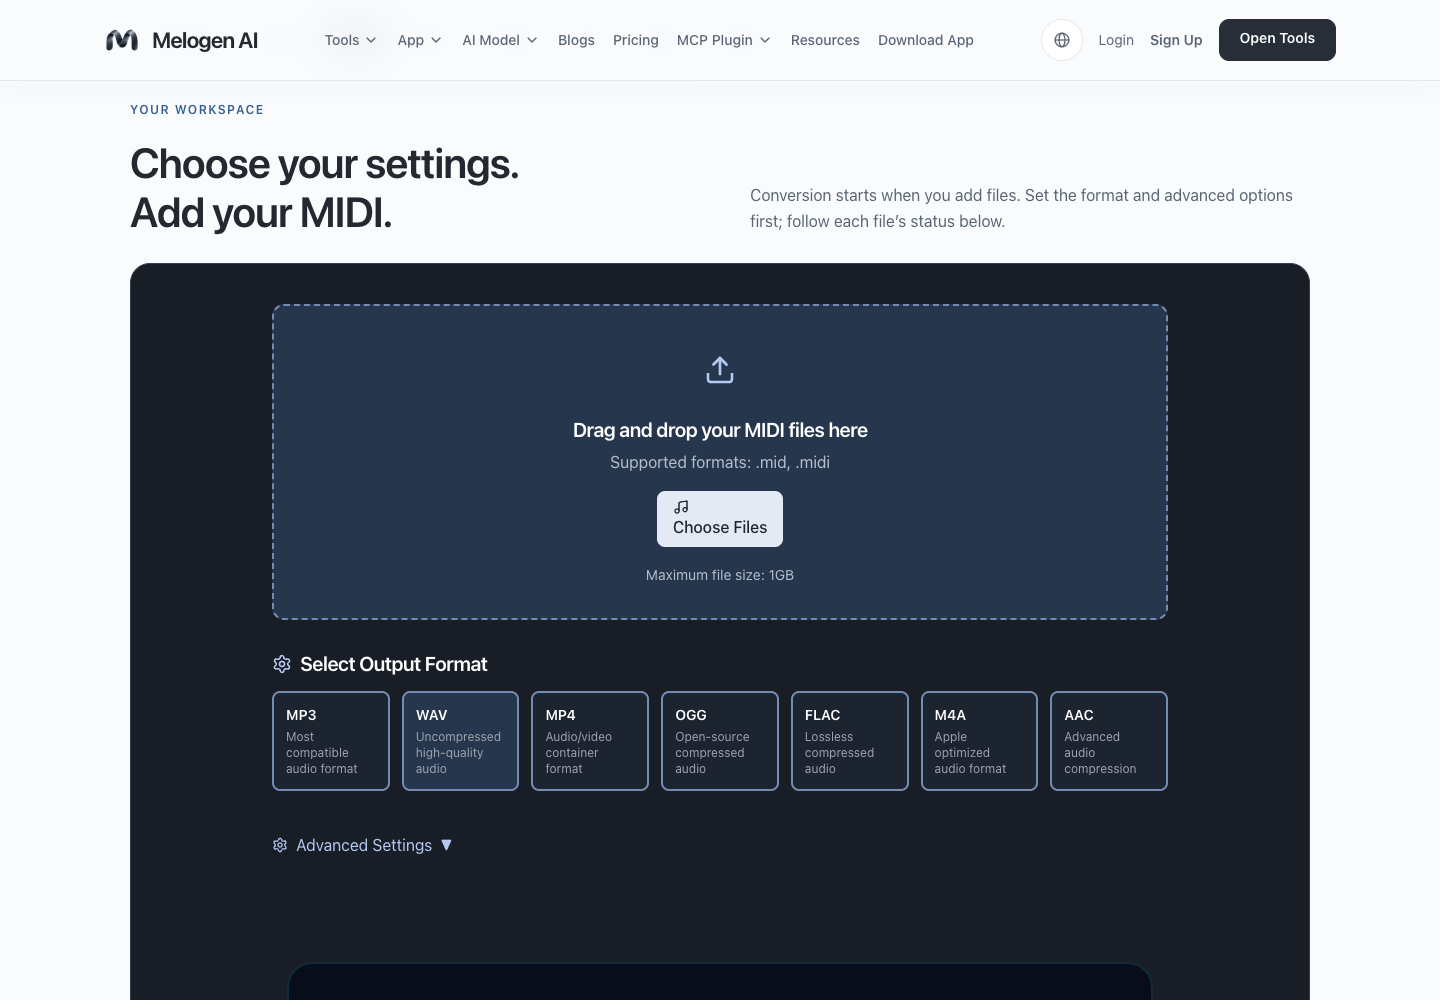
If you only need a quick audio reference from a standalone .mid, Melogen MIDI to WAV offers a browser route. Its rendering is separate from Live and will not reproduce Live devices, return effects, automation, or a finished Set's mix.
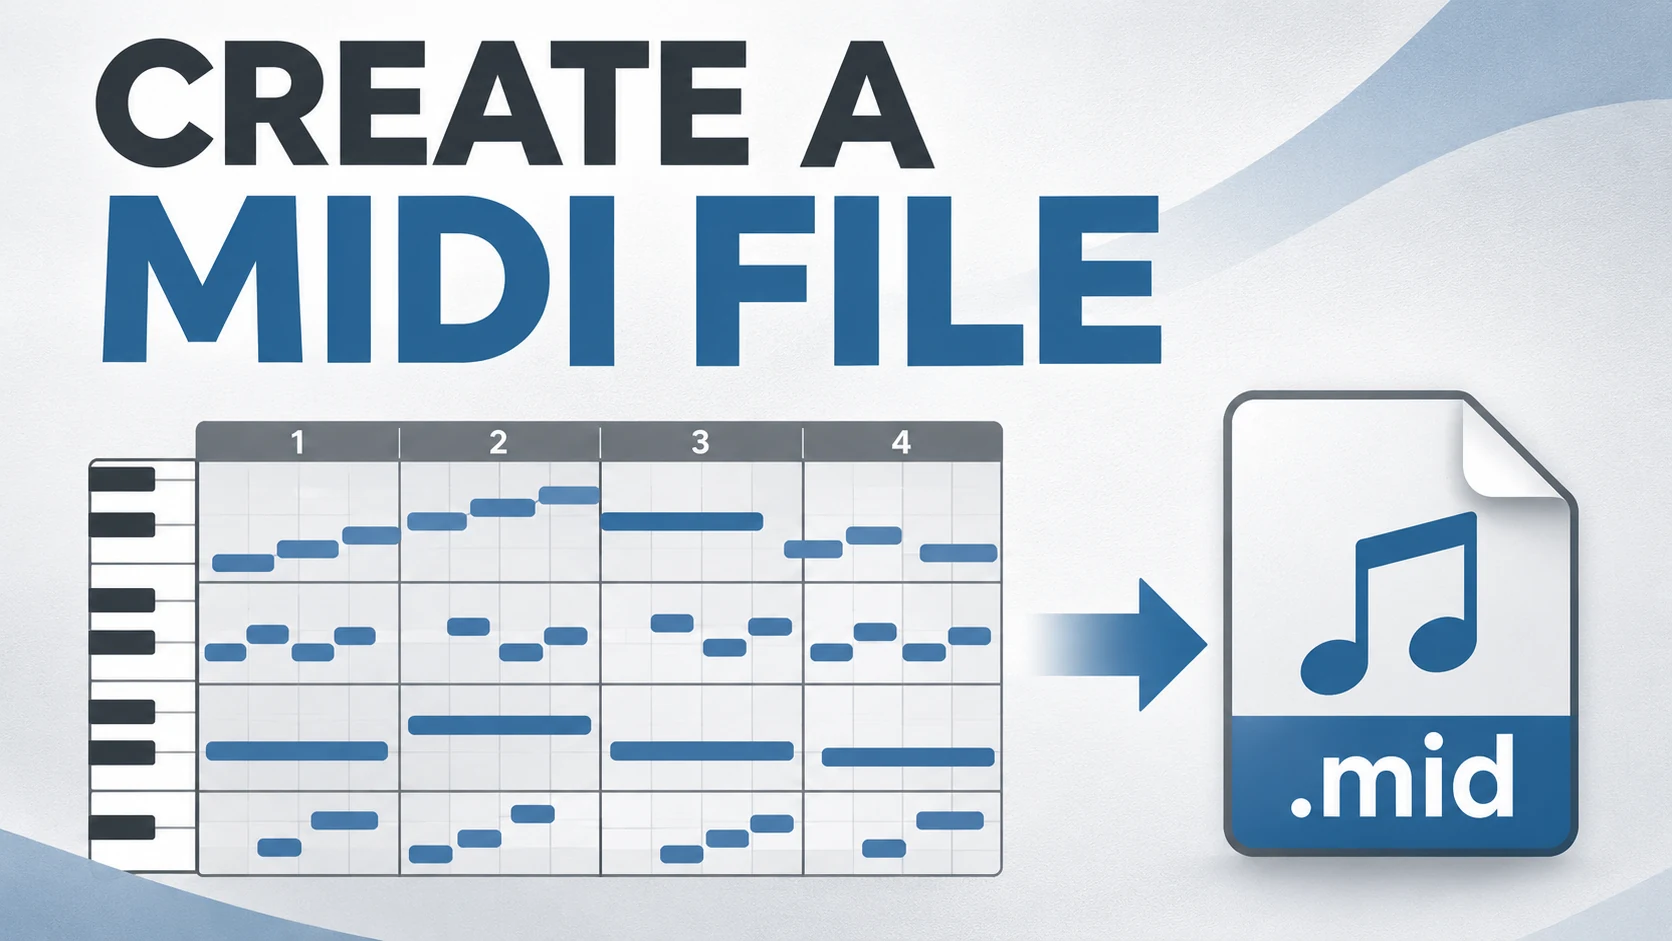
Keep the notes when the recipient will arrange the music, and add audio when they need to hear the idea. The MIDI sharing guide covers that handoff. For score editing rather than DAW work, MIDI vs MusicXML explains the different information each format carries.
Make a WAV listening reference before the session handoff
Use Melogen for a separate preview of the MIDI notes, and use Live's own bounce when its devices and processing define the sound.
Confirm the result before committing the arrangement
The audio should start at the intended beat, contain every selected part, and retain the ending you want. Keep a saved source version and verify the files travel with the Project. That makes the bounce useful for audio editing while leaving the musical decisions recoverable.
About the author
Zhang Guo
Composer - AI Product Manager
AI product manager and digital marketing consultant with a background in music. Creativity is the bridge between rhythm and logic, where musical intuition and mathematical precision can coexist in every meaningful product decision.
Follow on X