How to Bounce MIDI to Audio in Logic Pro With Control
Bounce MIDI to audio in Logic Pro while keeping the editable source. Choose regions or a project mix, preserve tails, and check the resulting audio.
 Zhang Guo
Turn a static score into editable MIDI
Contents
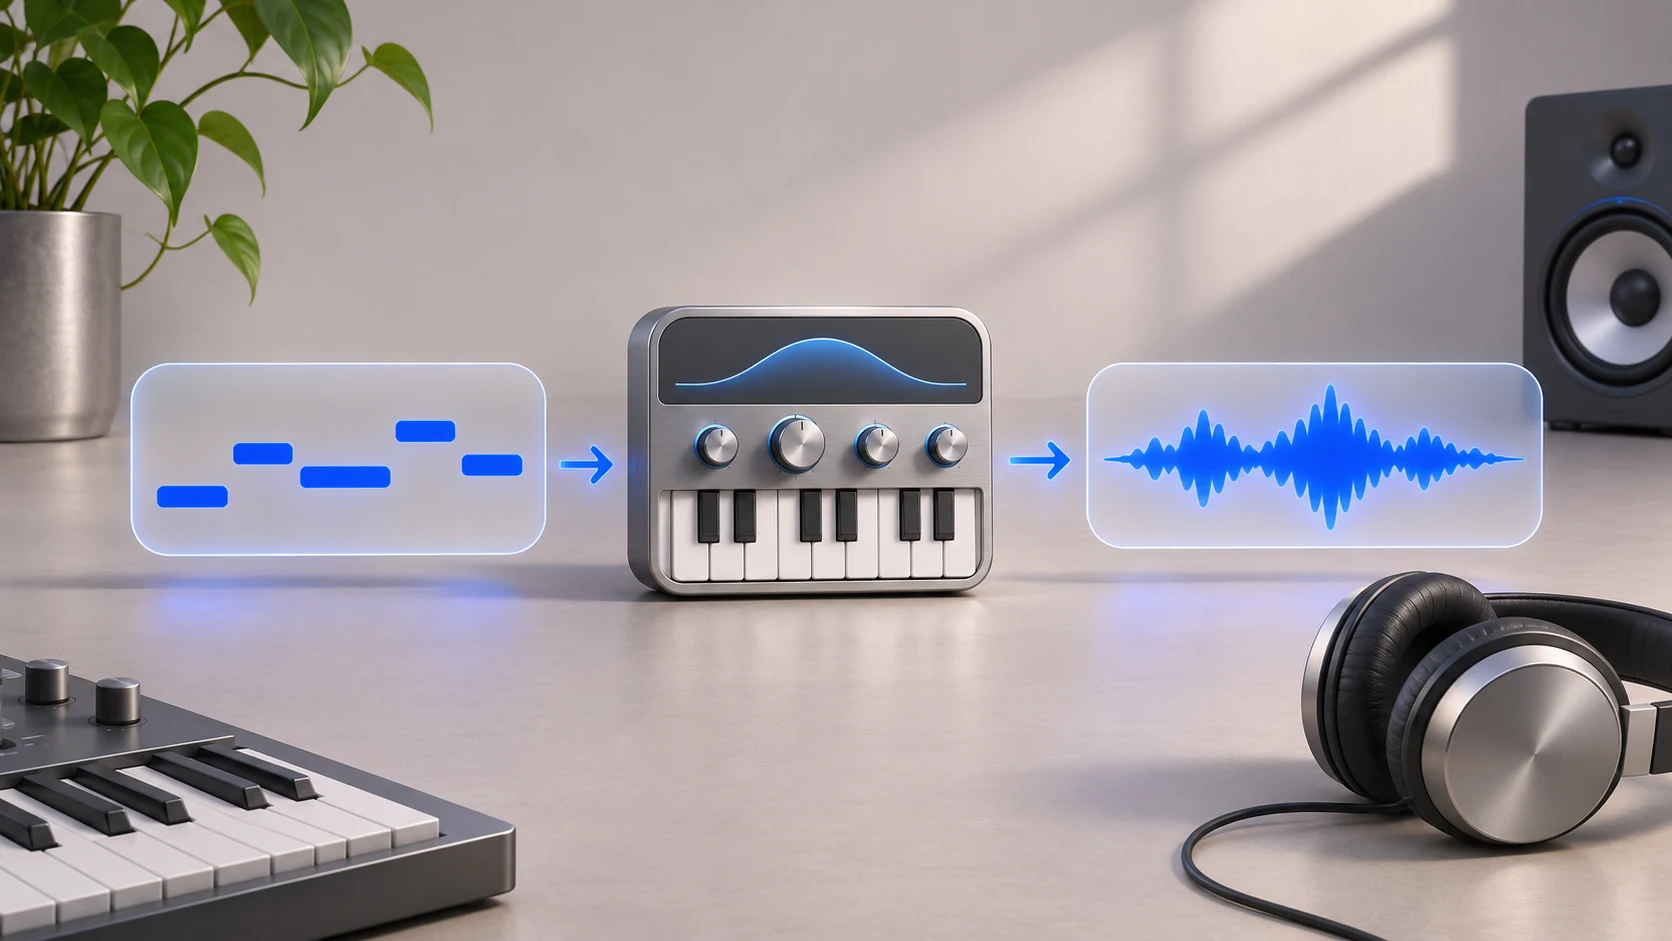
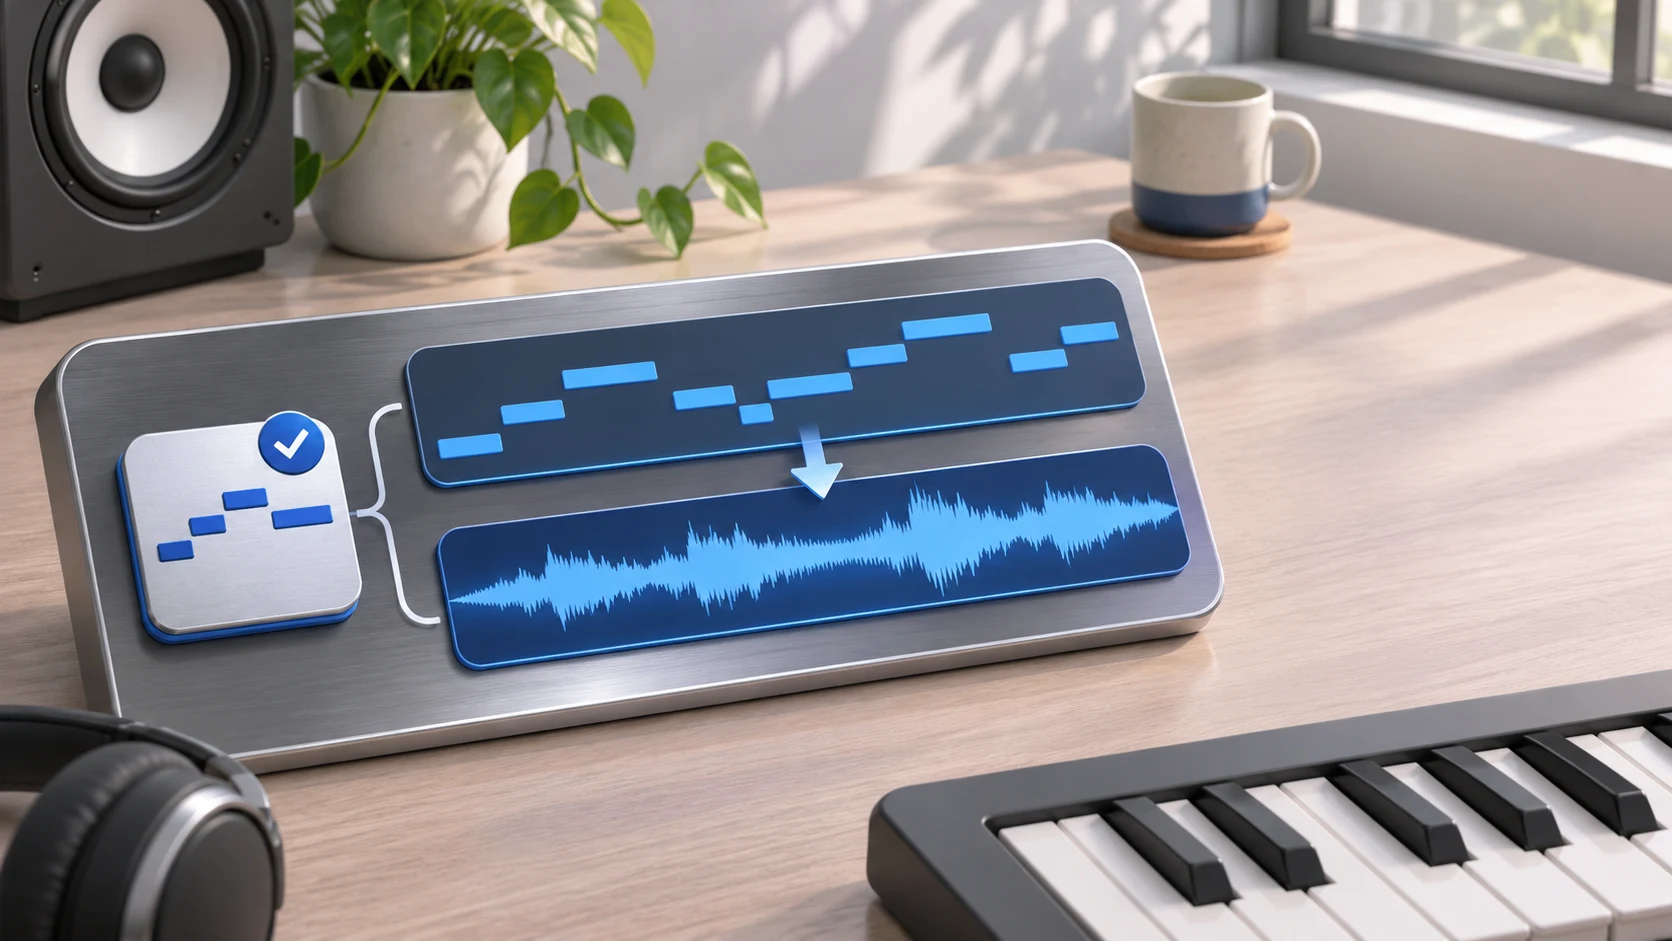
To bounce MIDI to audio in Logic Pro, select the software-instrument regions and choose File > Bounce > Regions in Place. Put the result on a new track and retain or mute the source regions while you check it. If you need a finished song file instead, use the project bounce command.
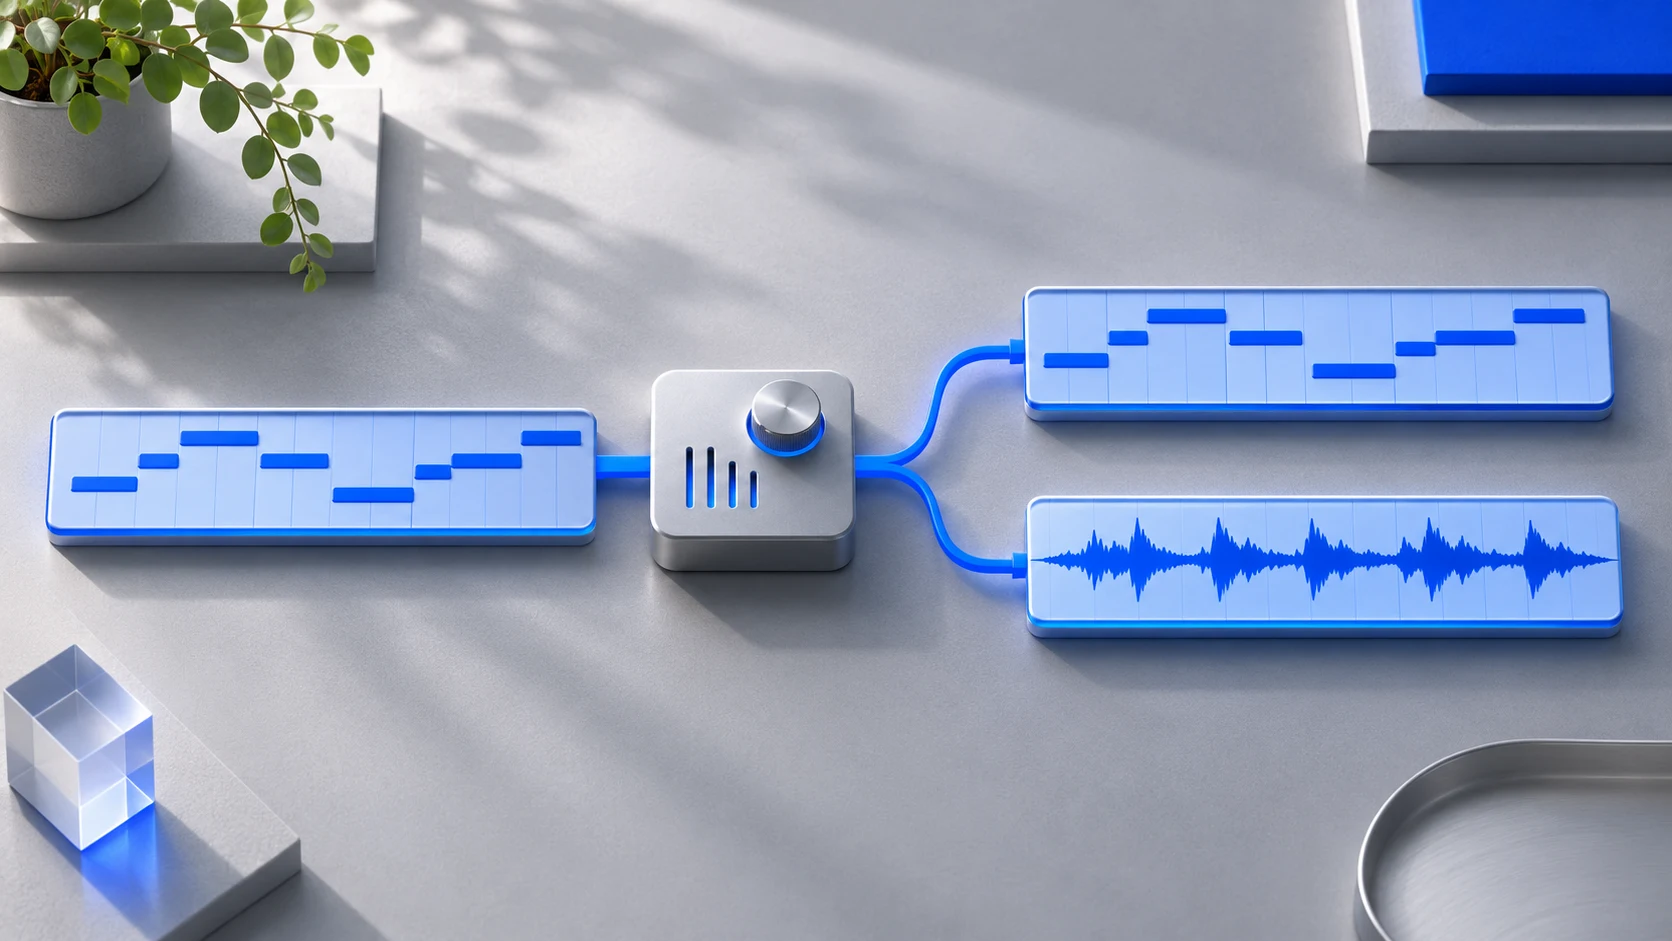
Both workflows render an instrument's sound. Neither is the same as exporting a MIDI file, which keeps note instructions editable. If you arrived here searching for the older name Logic Pro X, start by deciding which of these outcomes you need.
Choose an audio region or a finished mix
| You need | Use | What to preserve |
|---|---|---|
| Audio on the timeline for editing or lower instrument load | Bounce Regions in Place | Source MIDI regions and the saved project |
| A stereo song file for a listener | Project or Section bounce | The complete mix and its intended range |
| Notes for another sequencer | MIDI region export | Note timing, channels, and tempo context |
Keep this distinction visible in the project. A new audio region can be useful for chopping or reversing a phrase, while a finished mix is meant to capture the listening result. Do not replace the source just to make an audition copy.
Prepare the software-instrument part
Save a project copy and play the region once. Confirm the instrument is loaded, the track is audible, and the phrase begins where you expect. A MIDI region on an external instrument path needs the corresponding hardware and audio return; it is not a self-contained software-instrument sound.
Use the original two-part MIDI exercise at 96 BPM if you want a small check before committing a large arrangement. It contains a six-note melody and a two-note bass line over a two-bar grid. At 96 BPM, those eight beats span five seconds, with note releases occurring before the grid ends.
Use plain sounds first. If a problem is audible in this short phrase, it is easier to separate missing notes from a patch's attack, sustain, or release. Add complex processing after the basic path is clear.
Bounce the selected regions onto a new track
- Select the software-instrument region or regions in the Tracks area.
- Open File > Bounce > Regions in Place.
- Choose New Track as the destination.
- Choose the source behavior deliberately. Muting the source is useful for a comparison because the notes remain available without playing over the bounce.
- Review the file grouping, effect-tail, automation, and normalization choices.
- Run the bounce and listen to the new audio region with the source muted.
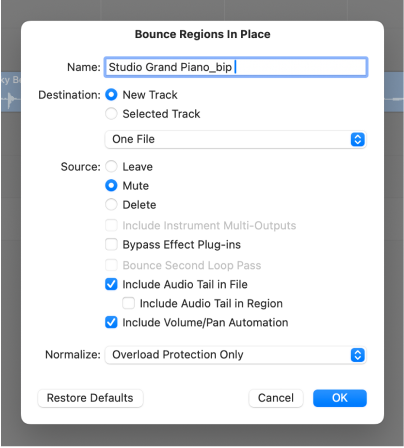
Apple's current region-bounce guide documents the available destination and source options. Its newer dialog also offers different file groupings for multiple regions. Choose the grouping by the edit you plan to make: one continuous stem is different from a separate file for every small region.
Keep the audible tail and the visible region boundary in mind as separate decisions. A reverb decay can exist in the file beyond the original phrase even when the displayed region ends sooner. Check the final sound before deciding whether to extend or trim the region.
Use project bounce for a listener's mix
For a finished stereo file, choose File > Bounce > Project or Section and inspect the start and end positions. Set the range to the musical section you actually intend to deliver. A cycle area or selected section can change what you expect to be the full song.
Apple's project-bounce documentation covers this output path. Use it when the objective is the complete listening mix, including the relevant output processing, rather than a reusable region inside the session.
For rehearsal or editing, a lossless WAV is a straightforward reference. Match the format to the recipient's requirements, leave space for decays where needed, and compare at a sensible level. A louder normalized version is not automatically a more accurate rendering of the source.
Compare the bounce without doubling the sound
Place the source and result at the same timeline position, then listen to one at a time. With the exercise file, compare the opening melody note, the bass change at bar two, and the short final melody note.
| What you hear | Check first |
|---|---|
| A level jump or phase-like change | Whether the MIDI instrument and audio copy are both playing |
| A cut-off reverb or held note | The bounce range and tail settings |
| Missing hardware sound | The external device and its audio return |
| A different effect balance | Which signal path and processing the chosen bounce captures |
| The wrong passage | Selected regions, cycle range, and start/end positions |
Keep a dry, simple check separate from a creative sound-design pass. It gives you a reliable comparison if later changes make the audio difficult to recognize.
Use a separate MIDI preview when you only need the notes
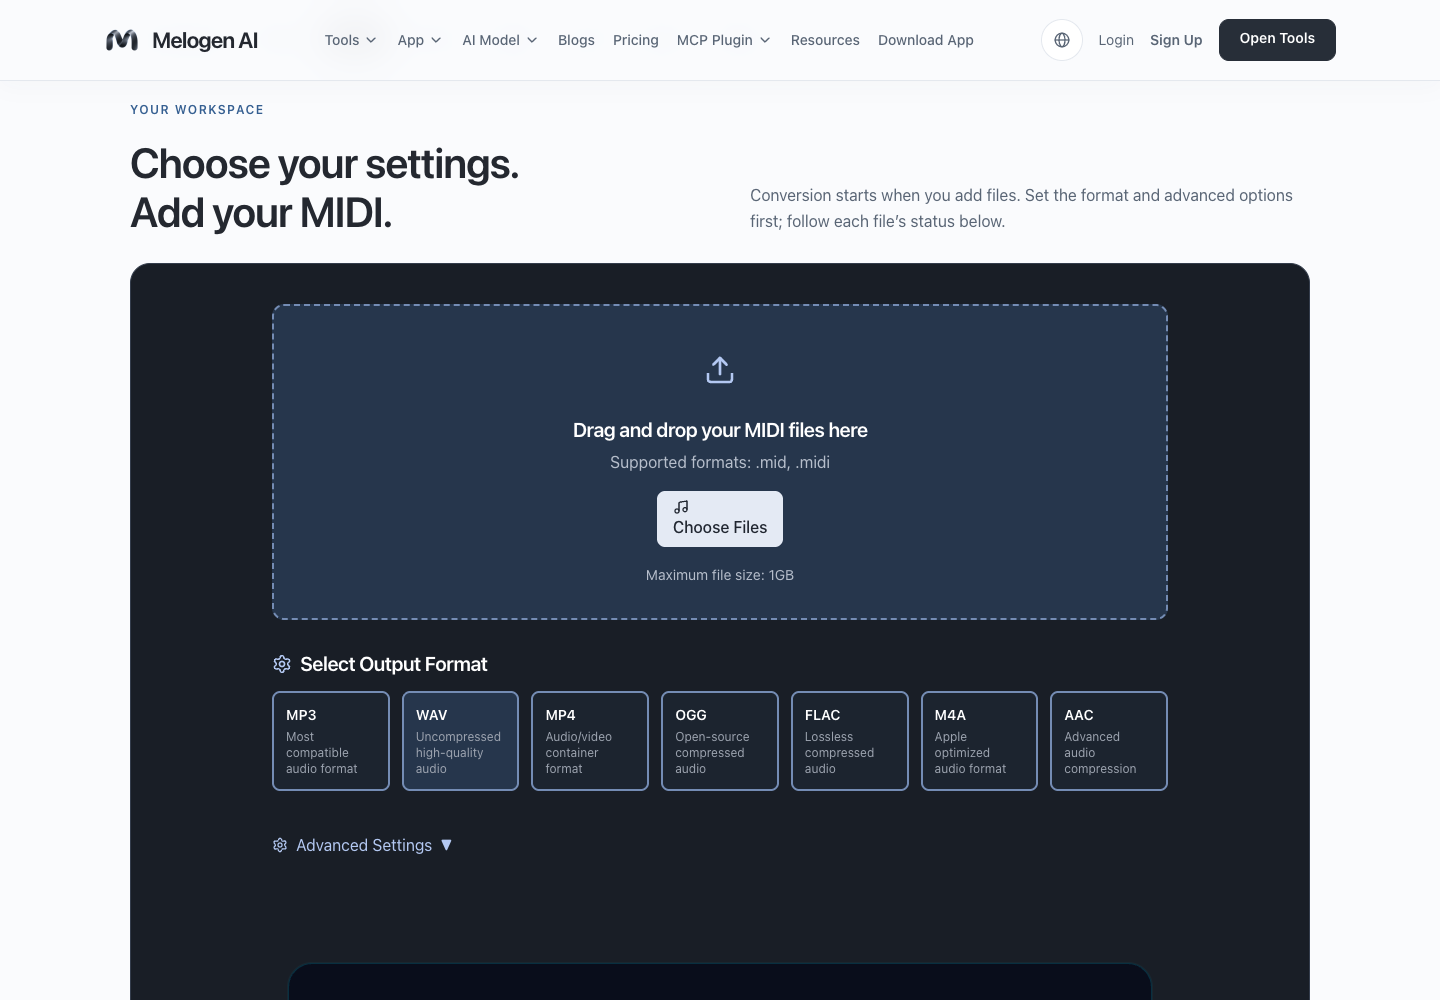
Melogen MIDI to WAV can render a standalone .mid for a quick listening reference. This is useful before a collaborator opens a large session. It does not preserve the Logic instrument patch, Audio Units, routing, or mix; use Logic's own bounce for that result.
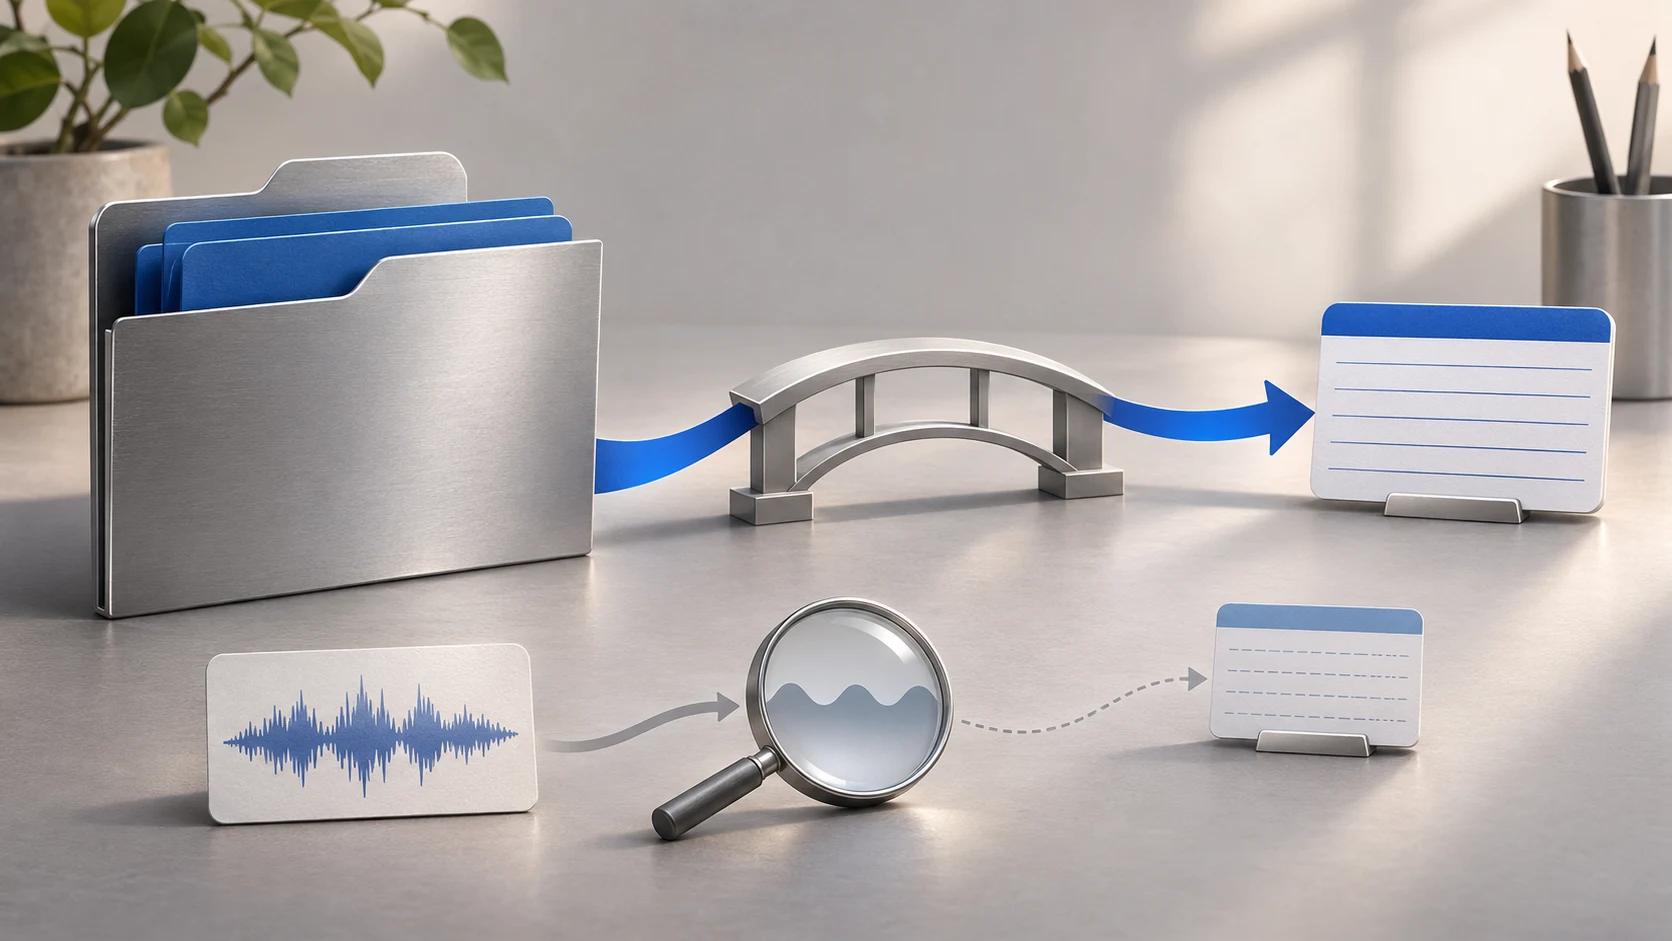
The workflow in sharing a MIDI file explains why the editable notes and an audio reference often belong together. If your starting material is a recording that still needs note detection, the separate Logic audio-to-MIDI guide covers the opposite direction.
Create a separate WAV reference from your MIDI
Render a standalone MIDI file in Melogen for a quick listening check. Keep Logic's bounce for the exact instrument and mix in your project.
Keep a reversible handoff
Before replacing anything, verify the saved audio's beginning, ending, part balance, and intended processing. Retain the original project and source MIDI. That leaves a clear path back to note editing while giving the next stage a dependable audio file.
About the author
Zhang Guo
Composer - AI Product Manager
AI product manager and digital marketing consultant with a background in music. Creativity is the bridge between rhythm and logic, where musical intuition and mathematical precision can coexist in every meaningful product decision.
Follow on X