How to Change Instruments in MuseScore Studio
Change an instrument in MuseScore Studio, add a mid-score switch, or change playback sound while checking transposition, range, and part labels.
 Zhang Guo
Turn a static score into editable MIDI
Contents
To change an instrument for an entire part in MuseScore Studio, open Layout, click the cog beside the instrument, choose Replace instrument, select the replacement, and confirm. For a switch partway through the music, use the Change instr. item in the Text palette at the chosen note or rest.
First decide whether you are changing the musician's instrument, adding an instrumental switch, or only auditioning a different playback sound. These actions affect different parts of the score.
Choose the change that matches your musical goal
| Goal | Where to work | What to check afterward |
|---|---|---|
| Replace flute with clarinet throughout | Layout → Replace instrument | Written pitch, range, labels, and playback |
| Switch from flute to piccolo mid-piece | Text palette → Change instr. | The exact switch point and later return |
| Keep the written part but audition another sound | Mixer | Playback sound without changing staff notation |
| Correct only a printed instrument label | Name settings | Whether the actual instrument assignment is already right |
Changing a label alone does not make a flute part a properly configured clarinet part. Similarly, choosing a different sound in the Mixer is a playback decision. The official Mixer guide explicitly separates sound changes from staff notation.
Replace an instrument for the whole part
Save a copy of the score, then follow the current instruments and system markings guide:
- Open the Layout panel. If it is hidden, use View → Layout or F7.
- Find the instrument you intend to replace.
- Click the cog beside its name and choose Replace instrument.
- Select the required instrument and confirm with OK.
- Inspect the part name, clef, key, and opening notes.
Some earlier MuseScore 4 interfaces call this panel Instruments. The current handbook uses Layout. Check the instrument entry rather than deleting a staff and rebuilding the music unnecessarily.
MuseScore Studio’s official product page. Instrument replacement takes place in the desktop notation workspace.
Add an instrument switch at one point
A doubling player needs a change at a musical position, not a whole-part replacement. Select the note or rest where the new instrument should begin, choose Change instr. in the Text palette, select the destination instrument, and confirm.
The official mid-score instrument changes guide explains that the change element can affect both playback and notation. Editing its visible wording does not change the assigned destination instrument. To choose a different destination, remove that change and insert the correct one.
Place a second instrument-change element where the player returns to the original instrument. Then play from before the first switch through the return, listening to both transitions.
For rehearsal material, leave a realistic rest for the player to put down one instrument and pick up the other. Software can switch immediately; a musician often cannot.
Check concert pitch before judging the result

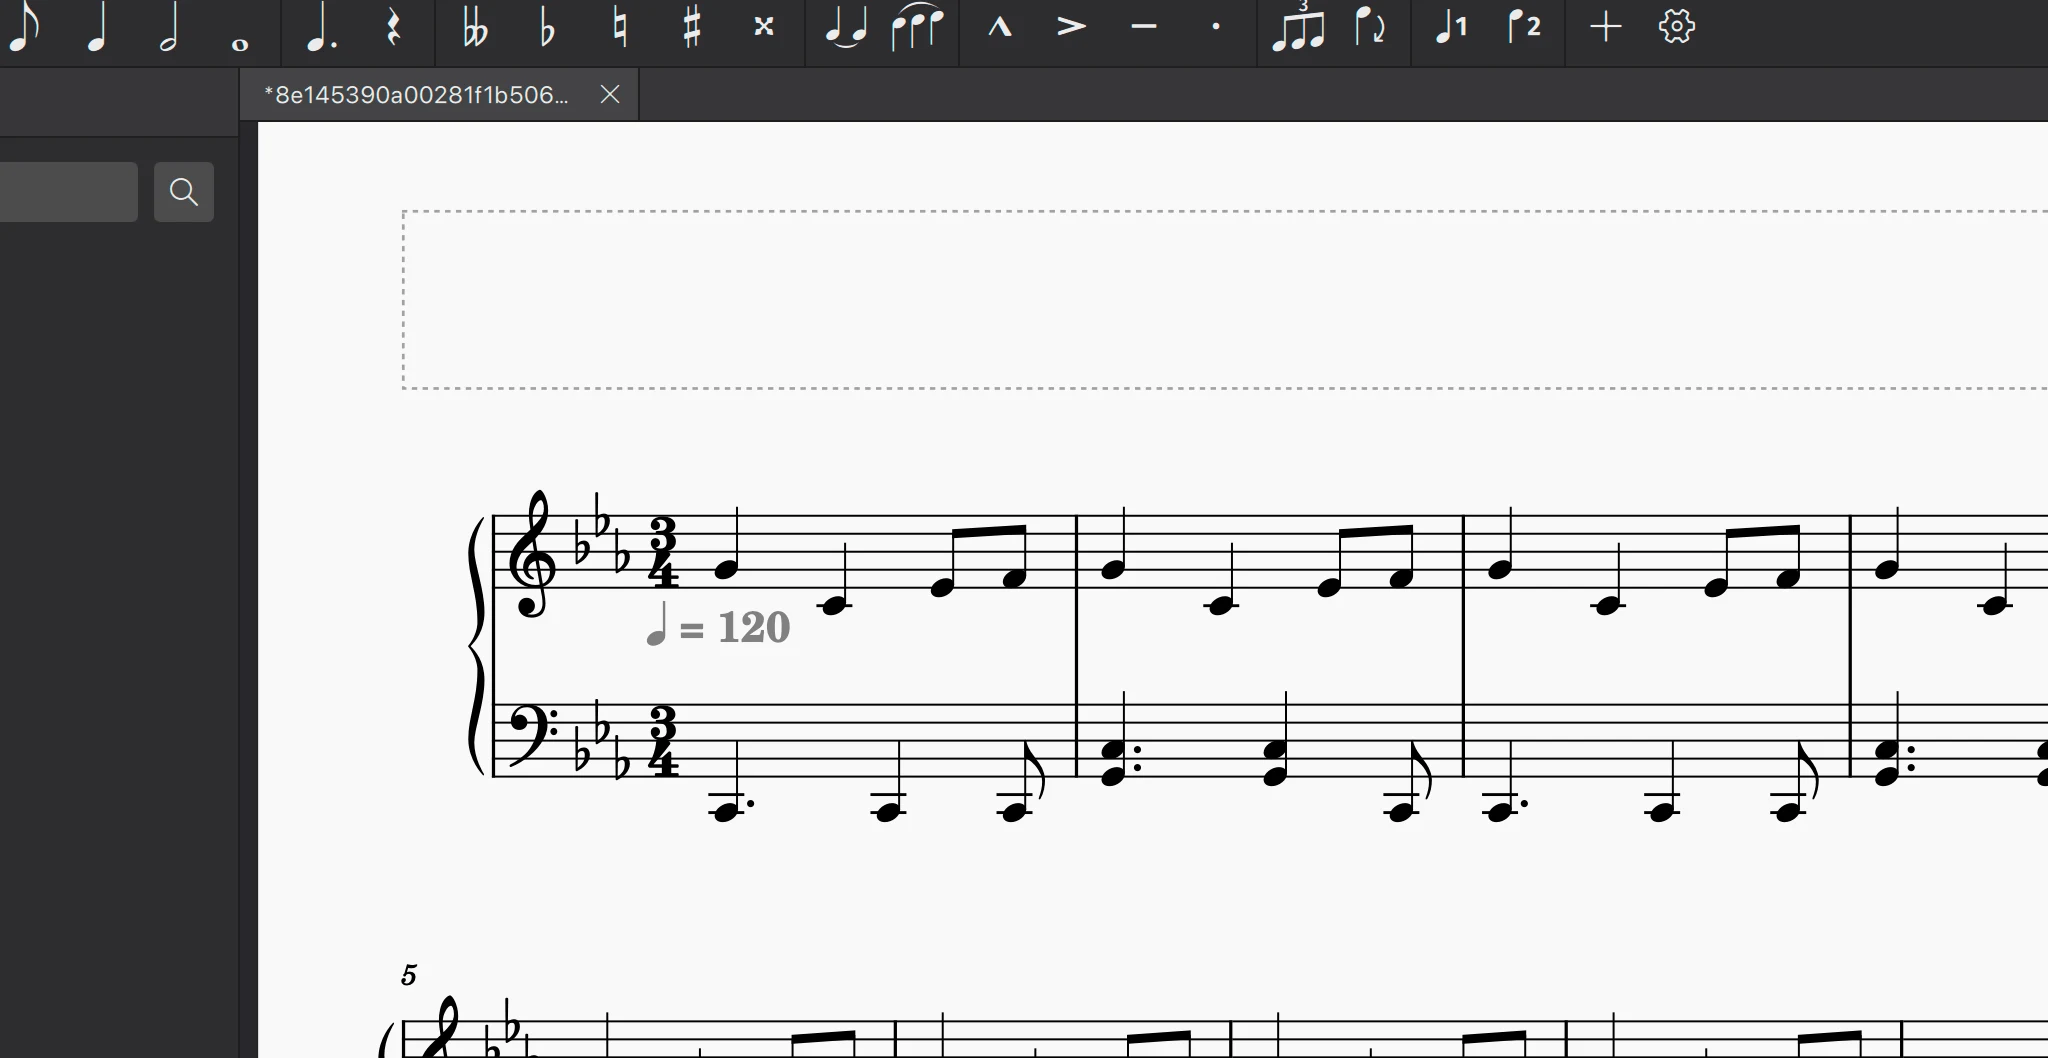
Original flute example rendered in MuseScore Studio 4.7.6. Use a short known phrase as a reference when comparing written and sounding pitch.
You can download the short reference score and use it for your own replacement check.
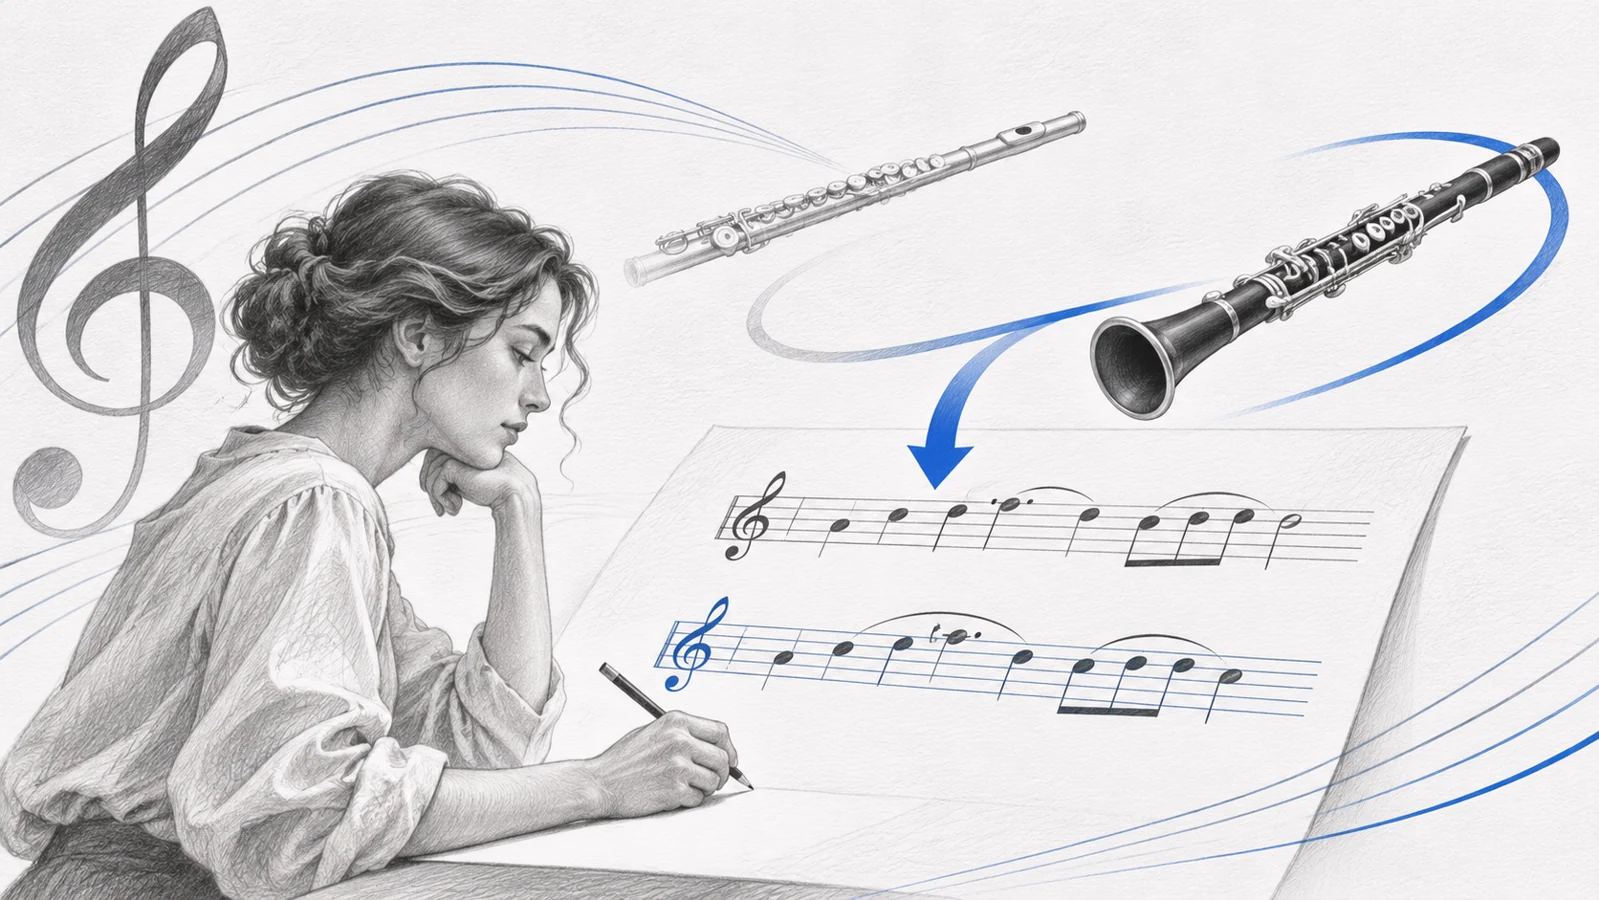
For a flute-to-B-flat-clarinet replacement, compare the phrase in concert-pitch view and then inspect the written part. A clarinet's written notes differ from its sounding notes, so a changed key signature can be appropriate. Do not manually move every note merely because the written staff looks different.
The transposing instruments guide explains this written-versus-sounding distinction. For the clarinet specifically, use the clarinet transposition guide as a pitch reference.
Check a few known notes by ear and inspect the highest and lowest notes. Correct transposition does not guarantee a comfortable range or a good arrangement for the new player.
Verify labels, sounds, and extracted parts
Run a short proofing pass before exporting:
- The full-score label names the intended instrument.
- The extracted part has the correct heading and clef.
- Sounding pitch is correct when compared in concert-pitch view.
- The range and technical writing suit the replacement instrument.
- Mid-score changes begin on the intended beat.
- A later return change is present when the player switches back.
- The Mixer uses the sound you intend for playback.
If playback remains unfamiliar, inspect its sound assignment. If notes appear wrong only in written-pitch view, inspect the instrument and transposition settings before changing the music itself.
When your original part is a PDF
Use Melogen PDF to MusicXML when the music first needs to become editable notation. Open the converted file in MuseScore, check which instruments were recognized, and make the replacement there. Compare the imported clef, key signature, octave, and part name with the PDF before reassigning the line.
Prepare a PDF part for instrument changes
Create MusicXML with Melogen, then check the instrument, pitch, and playable range in MuseScore Studio.
About the author
Zhang Guo
Composer - AI Product Manager
AI product manager and digital marketing consultant with a background in music. Creativity is the bridge between rhythm and logic, where musical intuition and mathematical precision can coexist in every meaningful product decision.
Follow on X