How to Convert Music CD to Flash Drive Step by Step
Learn how to convert music CD to flash drive on Mac or Windows, choose compatible audio files, organize folders, verify playback, and keep a safe master.
 Zhang Guo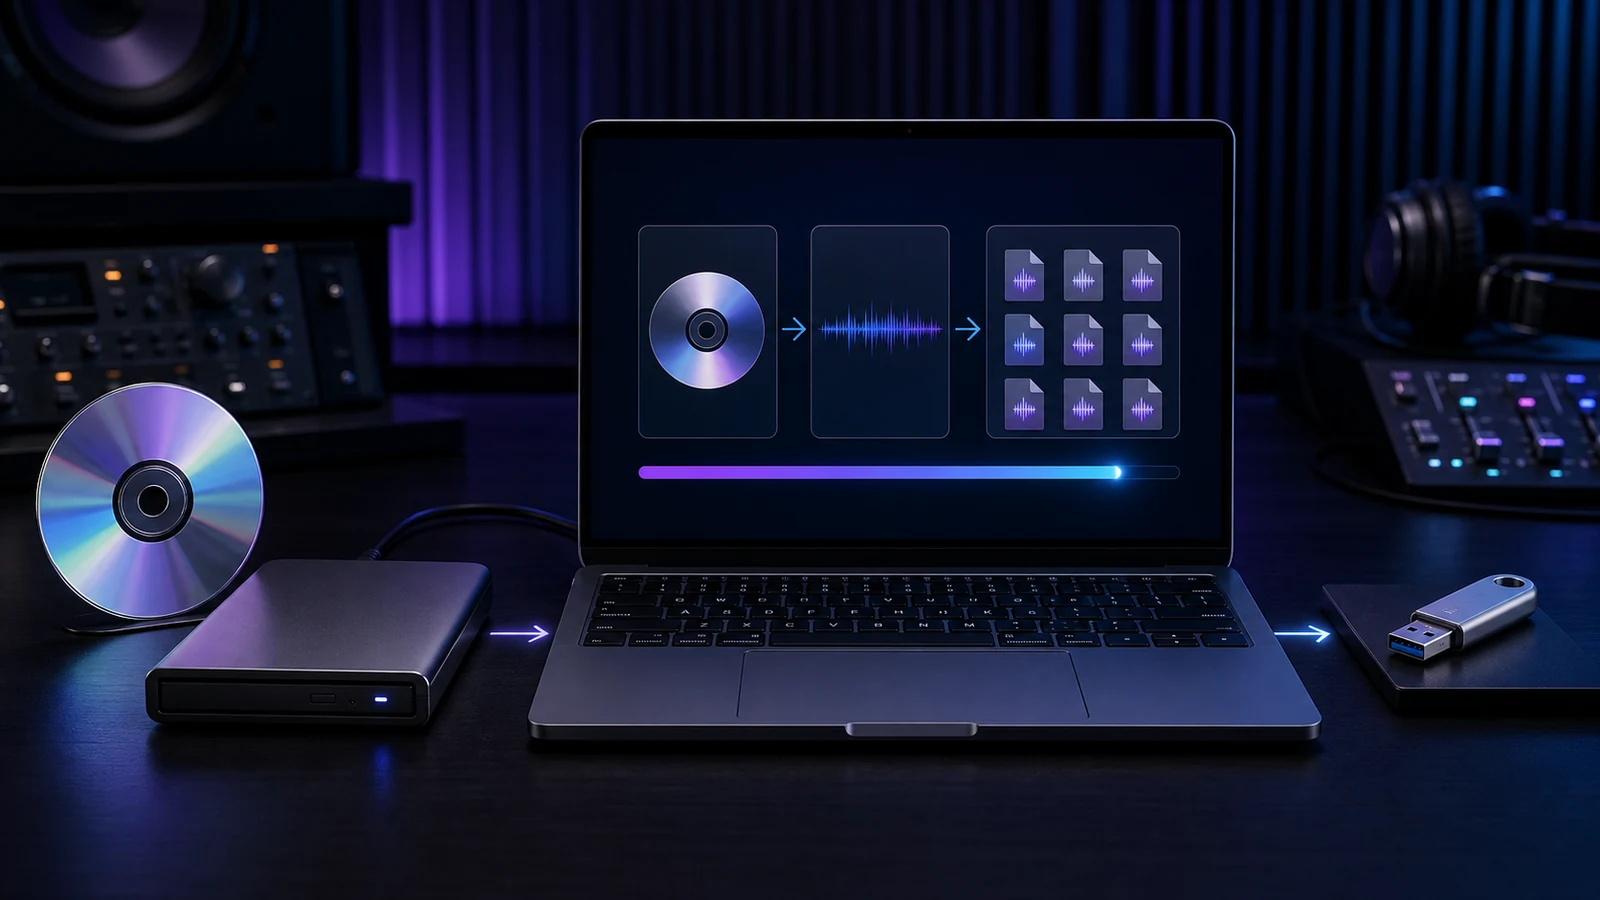
Turn a static score into editable MIDI
Contents
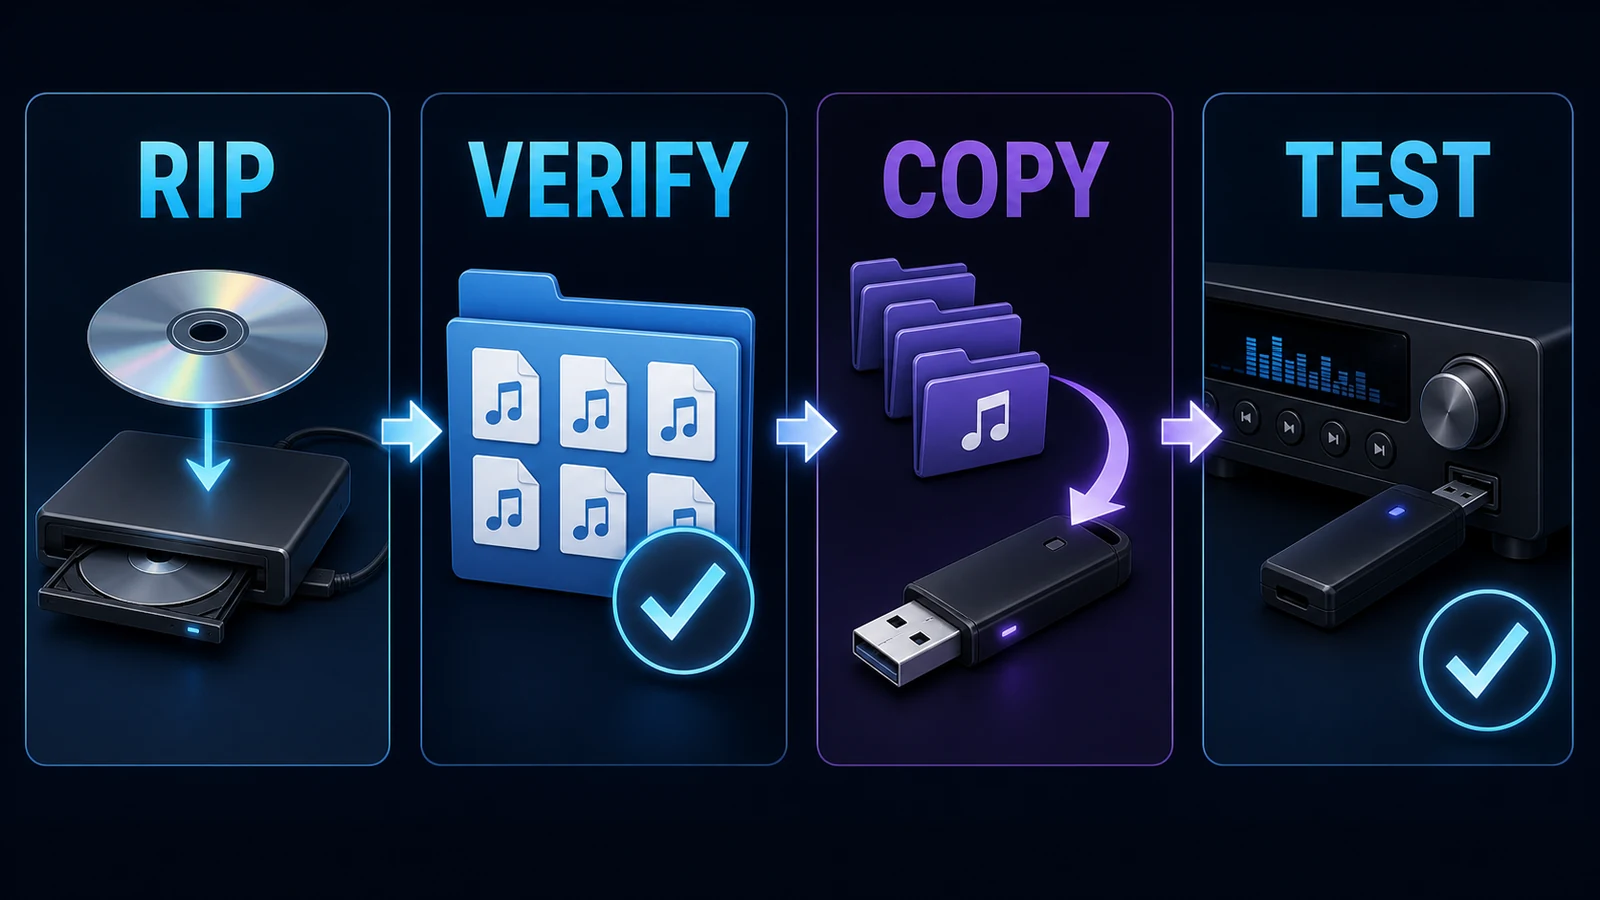
If you need to know how to convert music CD to flash drive, rip the CD to your computer first, verify the audio files, copy them into organized folders on the USB drive, eject it safely, and test it in the device where you plan to listen. An audio CD does not behave like a folder of normal MP3 files, so dragging tracks straight from the disc is usually the wrong workflow.
The dependable path is:
Audio CD → rip to computer → verify files → copy to USB → test playback
Check the playback device before you rip
The destination decides more than the CD. A modern laptop can read many audio formats and file systems, while an older car stereo may accept only a narrow combination. Check the player manual, its settings screen, or a known working USB drive before choosing the rip format.
| Playback destination | Safe starting audio choice | What to verify first |
|---|---|---|
| Older car stereo | MP3 | USB capacity, folder depth, supported bitrates, and required file system |
| Newer car or home receiver | MP3, then FLAC only if listed | Whether the device reads tags, album folders, and large drives |
| Windows or Mac computer | MP3 for portability; lossless master kept separately | Whether you want a listening copy or a long-term archive |
| Portable speaker with USB playback | MP3 | Whether the port supports playback rather than charging only |
MP3 is the practical default when compatibility matters. FLAC, ALAC, or WAV can preserve more information, but a player that cannot decode the format will simply skip the track or show an error. Keep a lossless master elsewhere and put smaller MP3 copies on the flash drive unless the target device clearly supports your preferred lossless format.
The same rule applies to the USB file system. FAT32 is common on older playback hardware, while newer devices may also support exFAT. Do not format the drive on guesswork. Formatting erases its current contents, and a perfectly copied album is useless if the player cannot mount the drive.
Rip the CD to a computer first
Ripping creates normal audio files from the tracks on the disc. This is the step that lets you choose MP3, WAV, AAC, ALAC, or another supported output and gives you a chance to correct track names before the USB copy exists.
On Windows, Microsoft's official Windows Media Player rip guide explains that ripped tracks can be stored as WMA, WAV, or MP3 files and that the Music folder is the default destination. It also lets you change the format and audio quality under Rip settings.
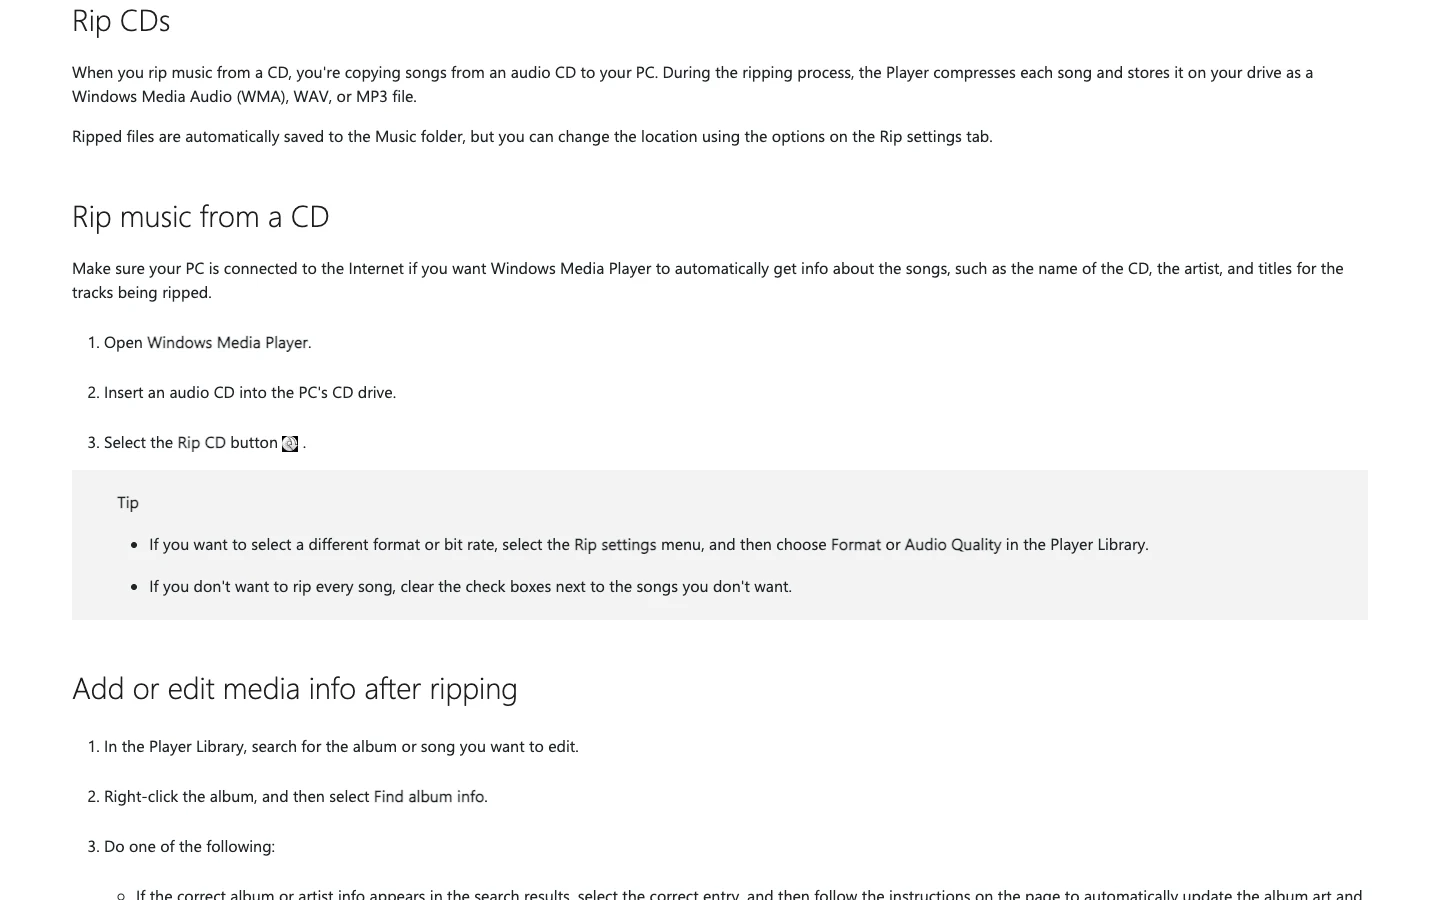
Use this Windows sequence:
- Connect an internal or external optical drive and insert the audio CD.
- Open Windows Media Player and select the disc.
- Open Rip settings and choose MP3 when the USB is for broad playback compatibility.
- Set the output folder on the computer, not directly on the flash drive.
- Clear any tracks you do not need, then select Rip CD.
- Wait for every selected track to finish before ejecting the disc.
On a Mac, Apple's official Music CD import guide uses the same basic pattern:
- Insert the CD and select it under Devices in the Music app.
- Open Music → Settings → Files → Import Settings.
- Choose MP3 Encoder for the portable copy or Apple Lossless for a master.
- Select the tracks and choose Import CD.
- Use File → Show in Finder if you need to locate the imported files before copying them.
If the disc is valuable, the longer guide to converting a music CD to digital files explains lossless masters, error correction, damaged discs, metadata, and backup choices in more detail.
Verify the tracks before copying them
A completed rip is not automatically a clean rip. Listen to the start and end of each track, then spot-check any quiet introductions or sections that made the optical drive slow down. Correct problems while the CD is still in front of you.
Check these details:
- the file count matches the tracks you selected
- the first and last track both play
- no song ends early or contains a repeatable click
- track numbers use two digits, such as
01,02, and03 - artist, album, and title fields are consistent
- the files use the format you intended
If a file is damaged, clean the disc and rip that track again. Do not copy both the failed and corrected versions to the USB, because many players display both without making the difference obvious.
Prepare and organize the flash drive
Back up anything already on the flash drive before changing it. If the drive is already readable by the target player and has enough free space, you may not need to format it at all.
When formatting is necessary, choose a file system the playback device explicitly supports. A useful rule is to test with one album before copying an entire library. This catches file-system, capacity, codec, and folder-layout problems while the rollback is still easy.
Keep the folder structure shallow and predictable:
Music/
  Artist Name/
    2026 - Album Name/
      01 - First Track.mp3
      02 - Second Track.mp3
      03 - Third Track.mp3
Some older players sort by filename rather than track metadata. Leading track numbers preserve the album order in both cases. Avoid extremely long names, unusual punctuation, and five levels of nested folders until you know the device handles them correctly.
Copy the album and eject the drive safely
Open the verified album folder on the computer and the flash drive in a second window. Copy the folder to the USB, wait until the transfer finishes, and compare the file count and total size on both sides.
Do not work directly on the only master. If you want smaller files for the car, create a separate MP3 set from the verified source first. The music files to MP3 guide covers Apple Music or iTunes, VLC, Audacity, and source-format decisions without confusing local files with streaming downloads.
After the copy finishes:
- Open two or three tracks from the USB while it is still connected.
- Close any app using the drive.
- Use Eject in File Explorer or Finder.
- Wait for the operating system to confirm that removal is safe.
- Disconnect the drive without bending or twisting the connector.
Removing a drive during a pending write can leave missing files or a damaged directory. A progress window disappearing is not always the same as the operating system finishing every cached write.
Test the USB in the final player
The final test belongs in the car, receiver, speaker, television, or computer where the drive will be used. A USB that works on your laptop has not yet proved that an older stereo understands the same format and folder layout.
Test in this order:
- Confirm that the player detects the drive.
- Open the first album folder.
- Play the first and last tracks.
- Skip forward and backward to confirm track order.
- Turn the device off and on, then check whether it remembers the drive.
- Add the rest of the library only after this small test passes.
If the player sees the USB but not the songs, check the audio codec first. If it does not see the drive at all, check the file system, capacity limit, partition layout, and whether that USB port supports media playback. If track order is wrong, rename files with leading numbers.
Trim a copy without changing the archive
CD ripping, USB transfer, and audio editing are different jobs. Melogen does not read the CD or format the flash drive. It fits after the rip when you want to make a short practice excerpt, remove silence from the beginning, add a fade, or prepare a separate clip from audio you are allowed to edit.
Melogen Music Trimmer supports common local formats including MP3, WAV, M4A, OGG, FLAC, and AAC. Use a duplicate file, select the useful region on the waveform, preview the cut, and export a separate copy. Keep the verified CD rip unchanged.
Prepare a clean listening copy for the USB
Trim a duplicate track, add a short fade if needed, and export a separate file without changing the verified CD master.
Common CD-to-USB problems
| Problem | Likely cause | Better next step |
|---|---|---|
| The player does not detect the USB | Unsupported file system, capacity, partition, or playback-only restriction | Check the device manual and test a smaller known-good drive |
| The folders appear but tracks do not | Unsupported audio format or codec | Create MP3 copies from the verified master |
| Tracks play in the wrong order | Player sorts by filename | Rename files with two-digit track numbers |
| Some songs are missing | Copy was interrupted or filenames are too complex | Compare counts, shorten names, and copy again |
| A track clicks or skips | The original CD rip was faulty | Re-rip that track before replacing the USB copy |
| The drive works on a computer but not in a stereo | Computer support is broader than the stereo's | Match the stereo's documented file system and formats |
Frequently asked questions
Can I copy music directly from a CD to a flash drive?
Rip the CD to the computer first. An audio CD stores tracks in a disc format rather than as ordinary MP3 files you can reliably drag to a USB. Ripping creates the playable files and lets you verify them before the portable copy exists.
Is MP3 or WAV better for a flash drive?
MP3 is usually the safer choice for broad playback compatibility and smaller files. WAV preserves uncompressed audio but uses much more space and may not be supported by every standalone player. Keep a lossless master on another drive and use MP3 for the portable copy when compatibility matters.
Why does my car not recognize the flash drive?
The usual causes are an unsupported file system, a drive or partition larger than the stereo accepts, unsupported audio files, or a USB port that is meant only for charging. Check the vehicle manual and test one MP3 album on a smaller drive before rebuilding the whole library.
How many CDs fit on a USB flash drive?
It depends on the flash-drive capacity, album length, and encoding settings. MP3 copies use far less space than WAV files. Copy a representative album, check its folder size, and use that real result to estimate the rest of your collection.
Is it legal to copy a CD to a flash drive?
Copyright rules vary by country, source, and use. Keep the copy personal unless you have permission to distribute it, and do not assume that owning the disc grants public-sharing rights.
The practical takeaway
The safe way to convert music CD to flash drive is to separate the job into stages. Rip the CD to the computer, verify the files, create a compatible listening set, copy an organized album folder to the USB, eject it safely, and test it in the final player.
Keep the computer or backup copy until the USB has passed that test. The flash drive is convenient, but the verified master is what makes the workflow recoverable.
About the author
Zhang Guo
Composer - AI Product Manager
AI product manager and digital marketing consultant with a background in music. Creativity is the bridge between rhythm and logic, where musical intuition and mathematical precision can coexist in every meaningful product decision.
Follow on X